Modeling & Materials

Weekly Design Challenge Template

Li Siyi-Lorisa


Module 1


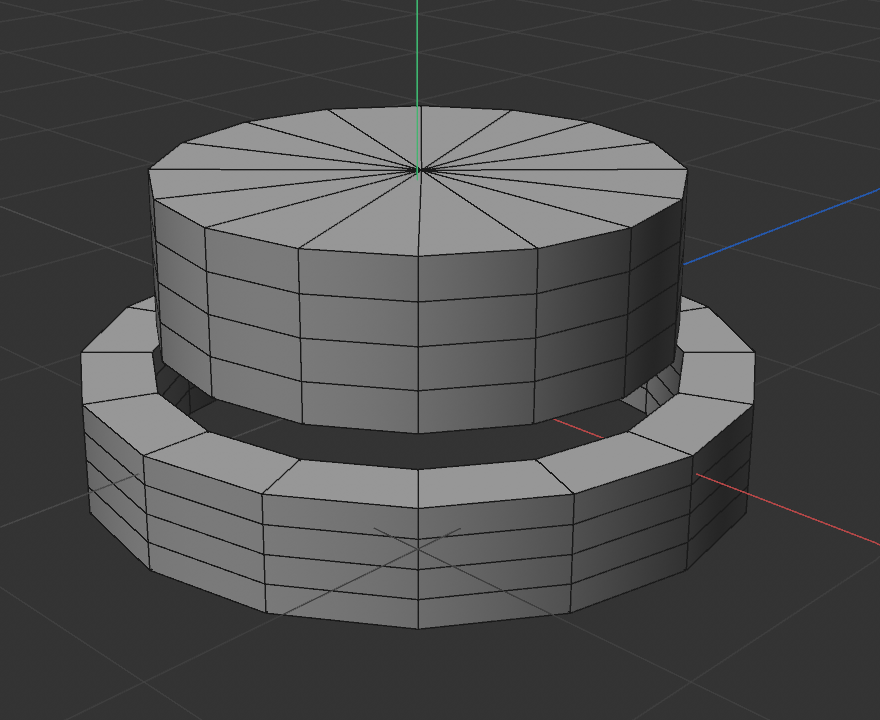
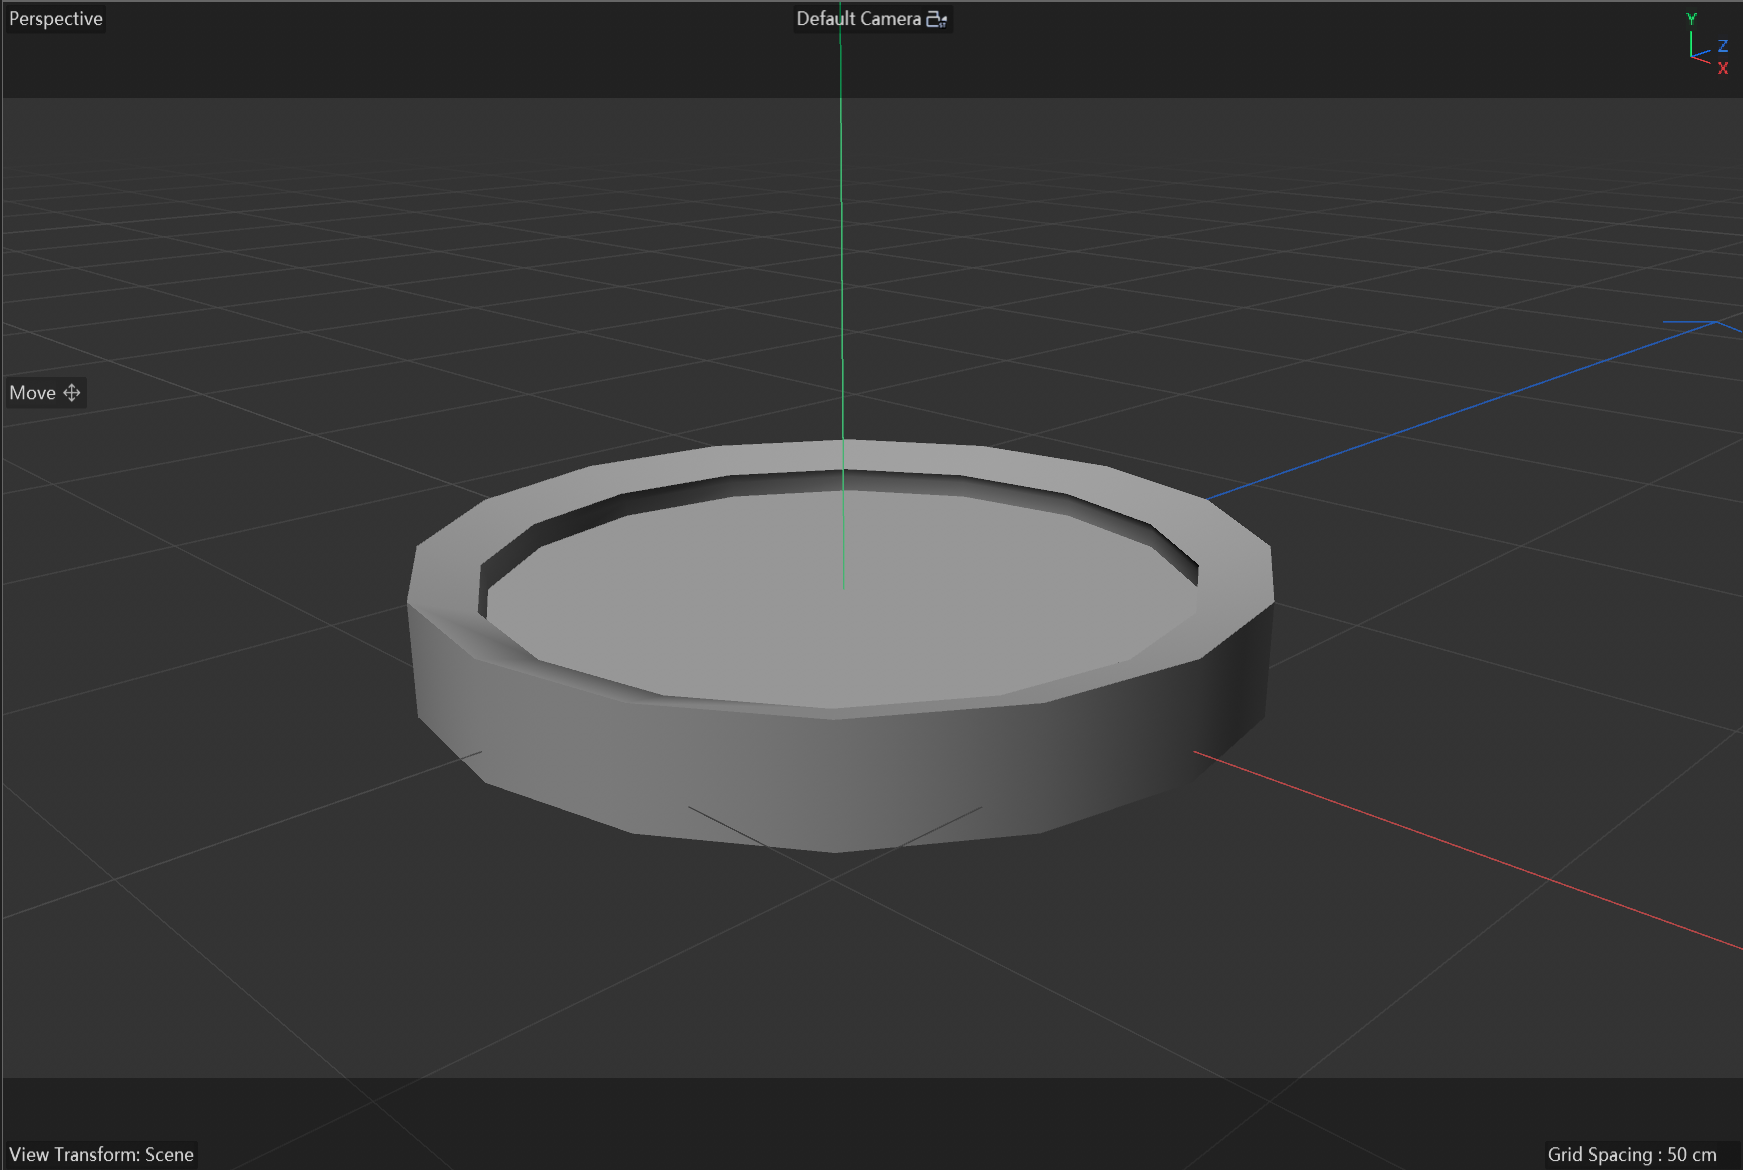
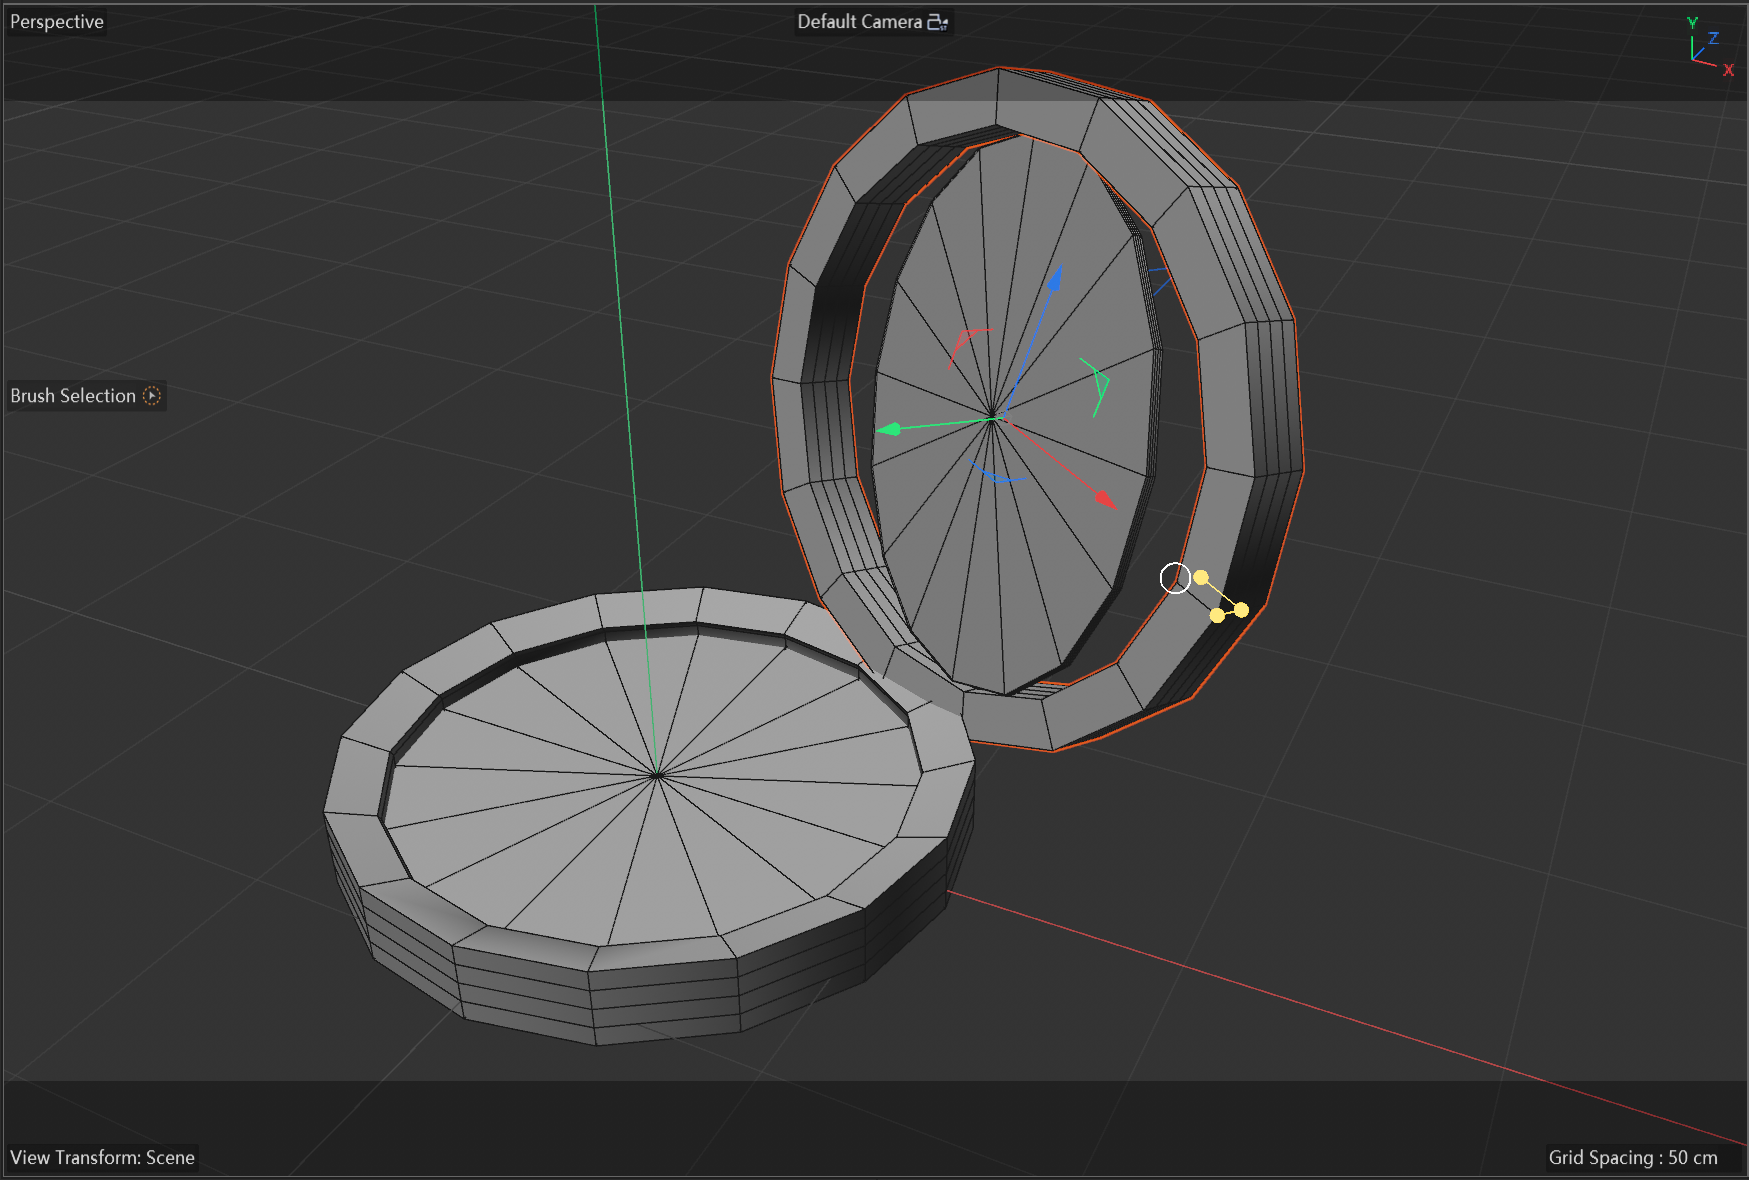
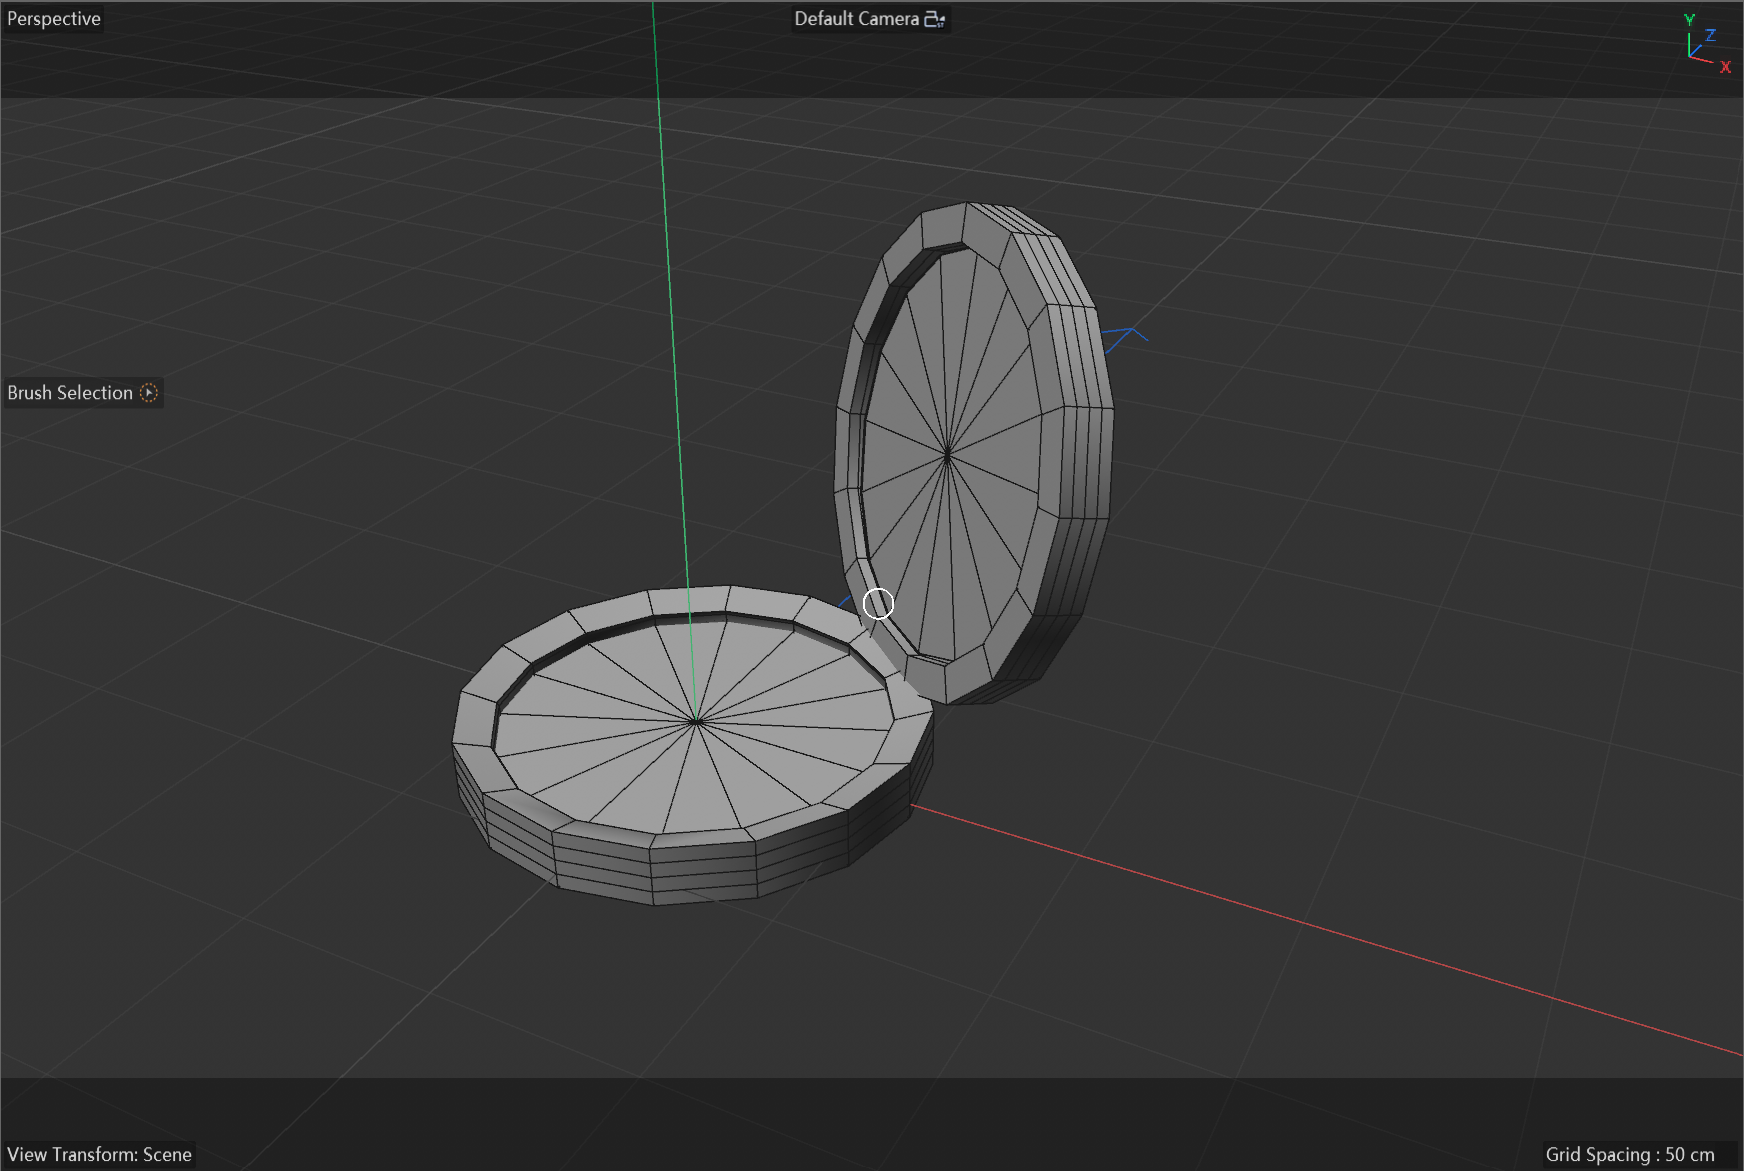
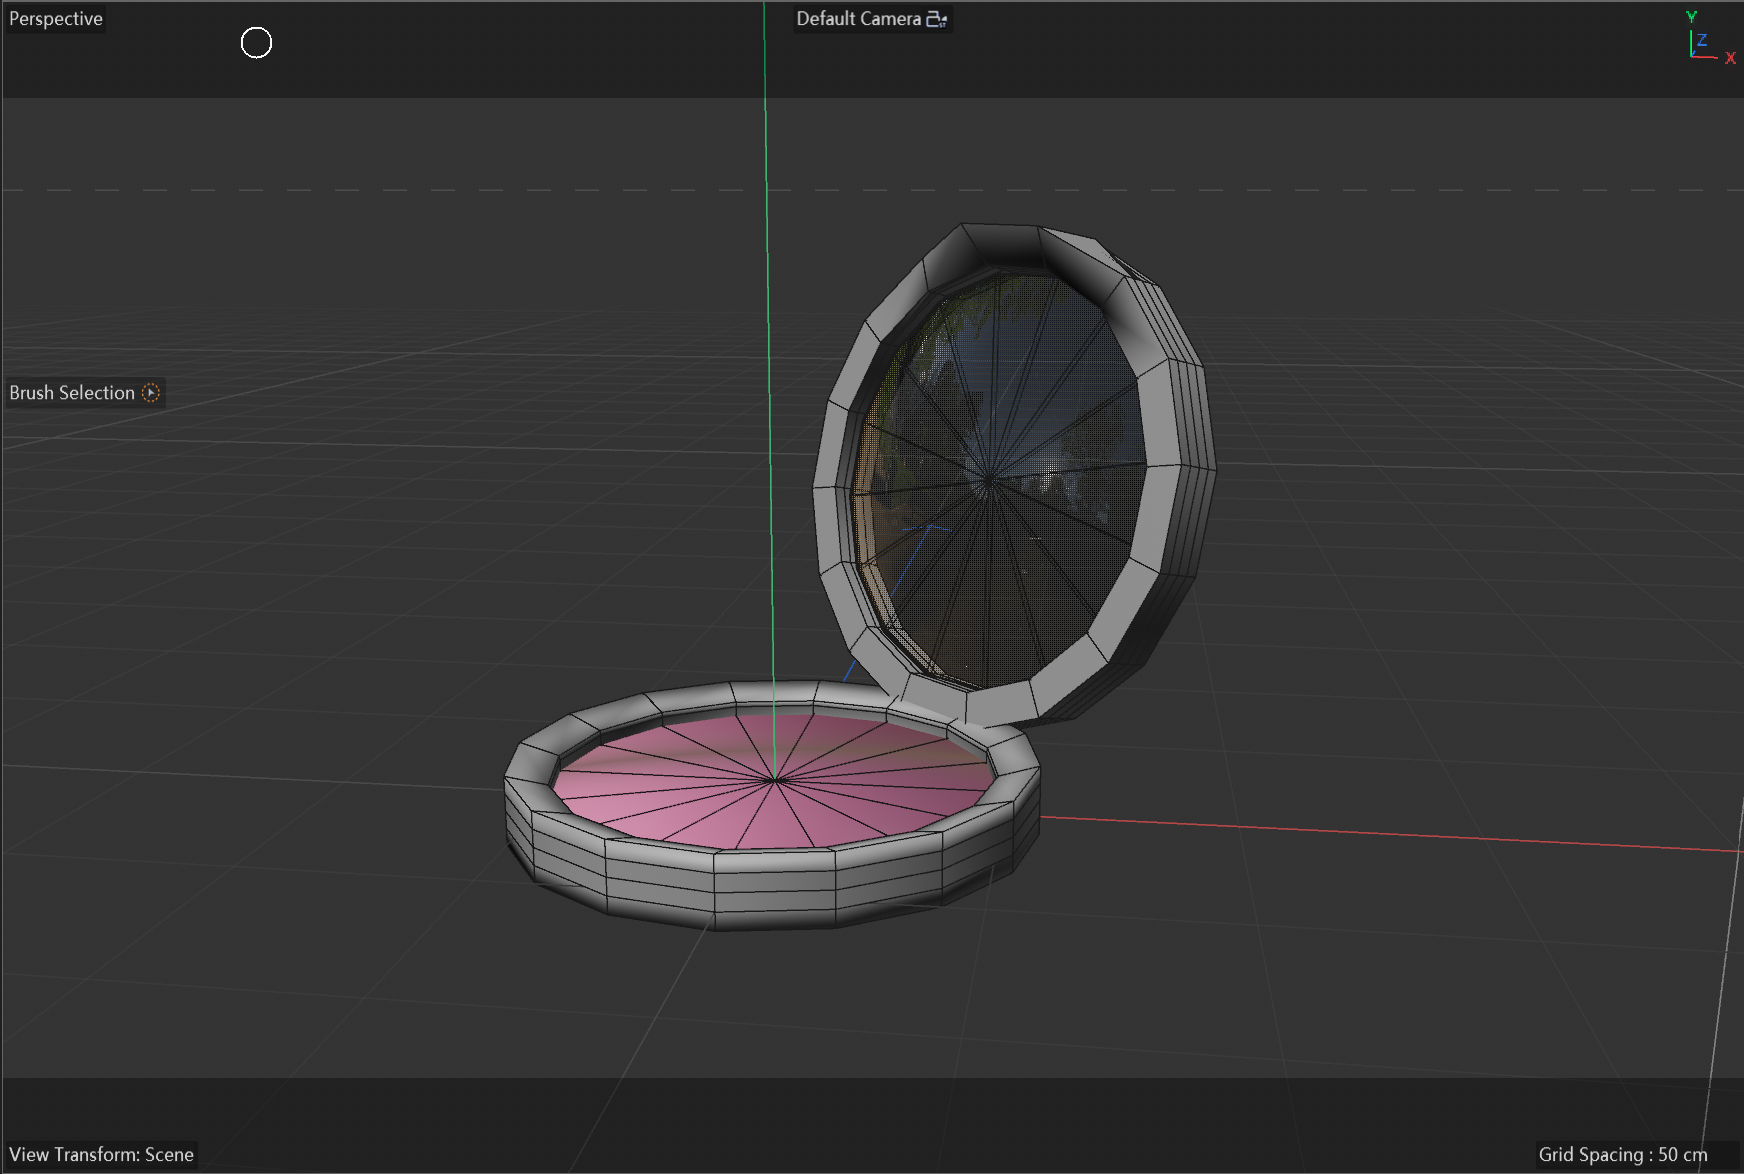
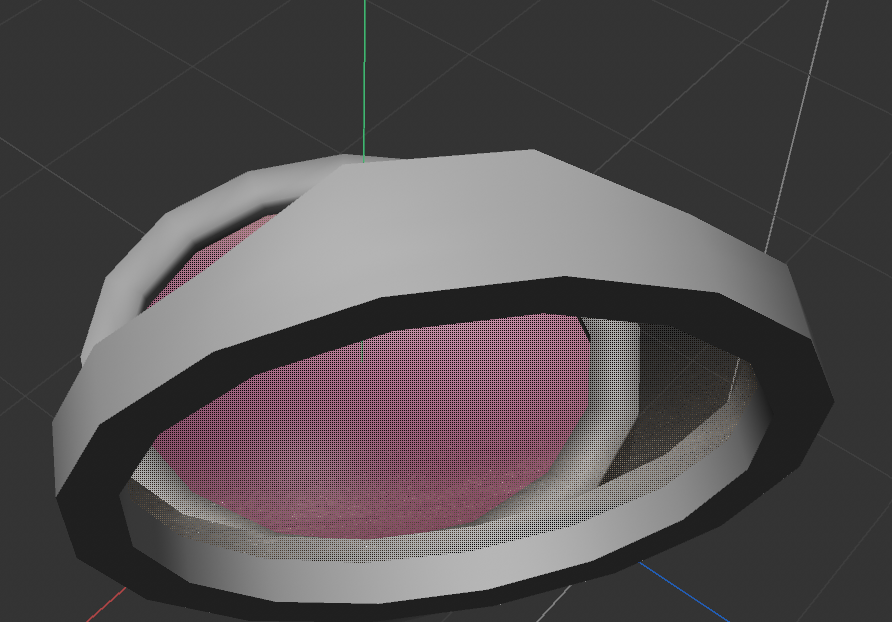
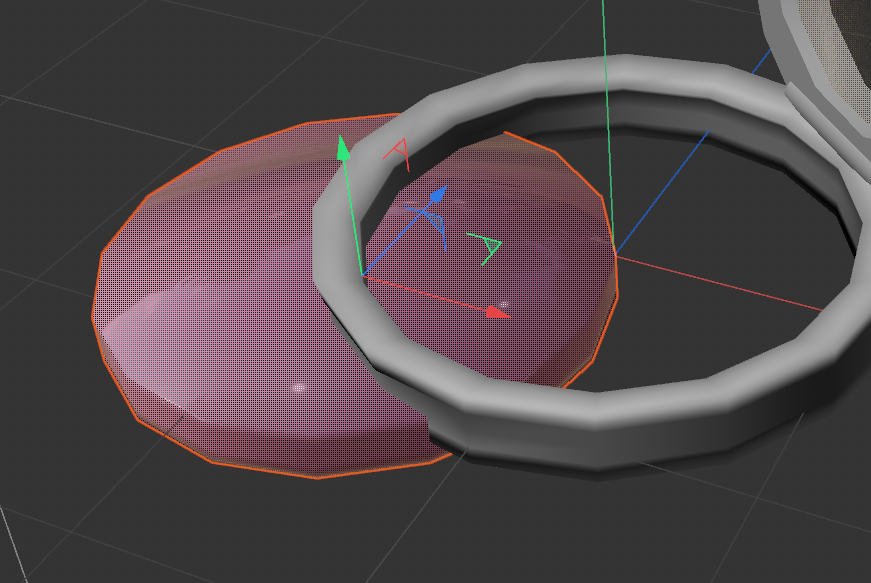
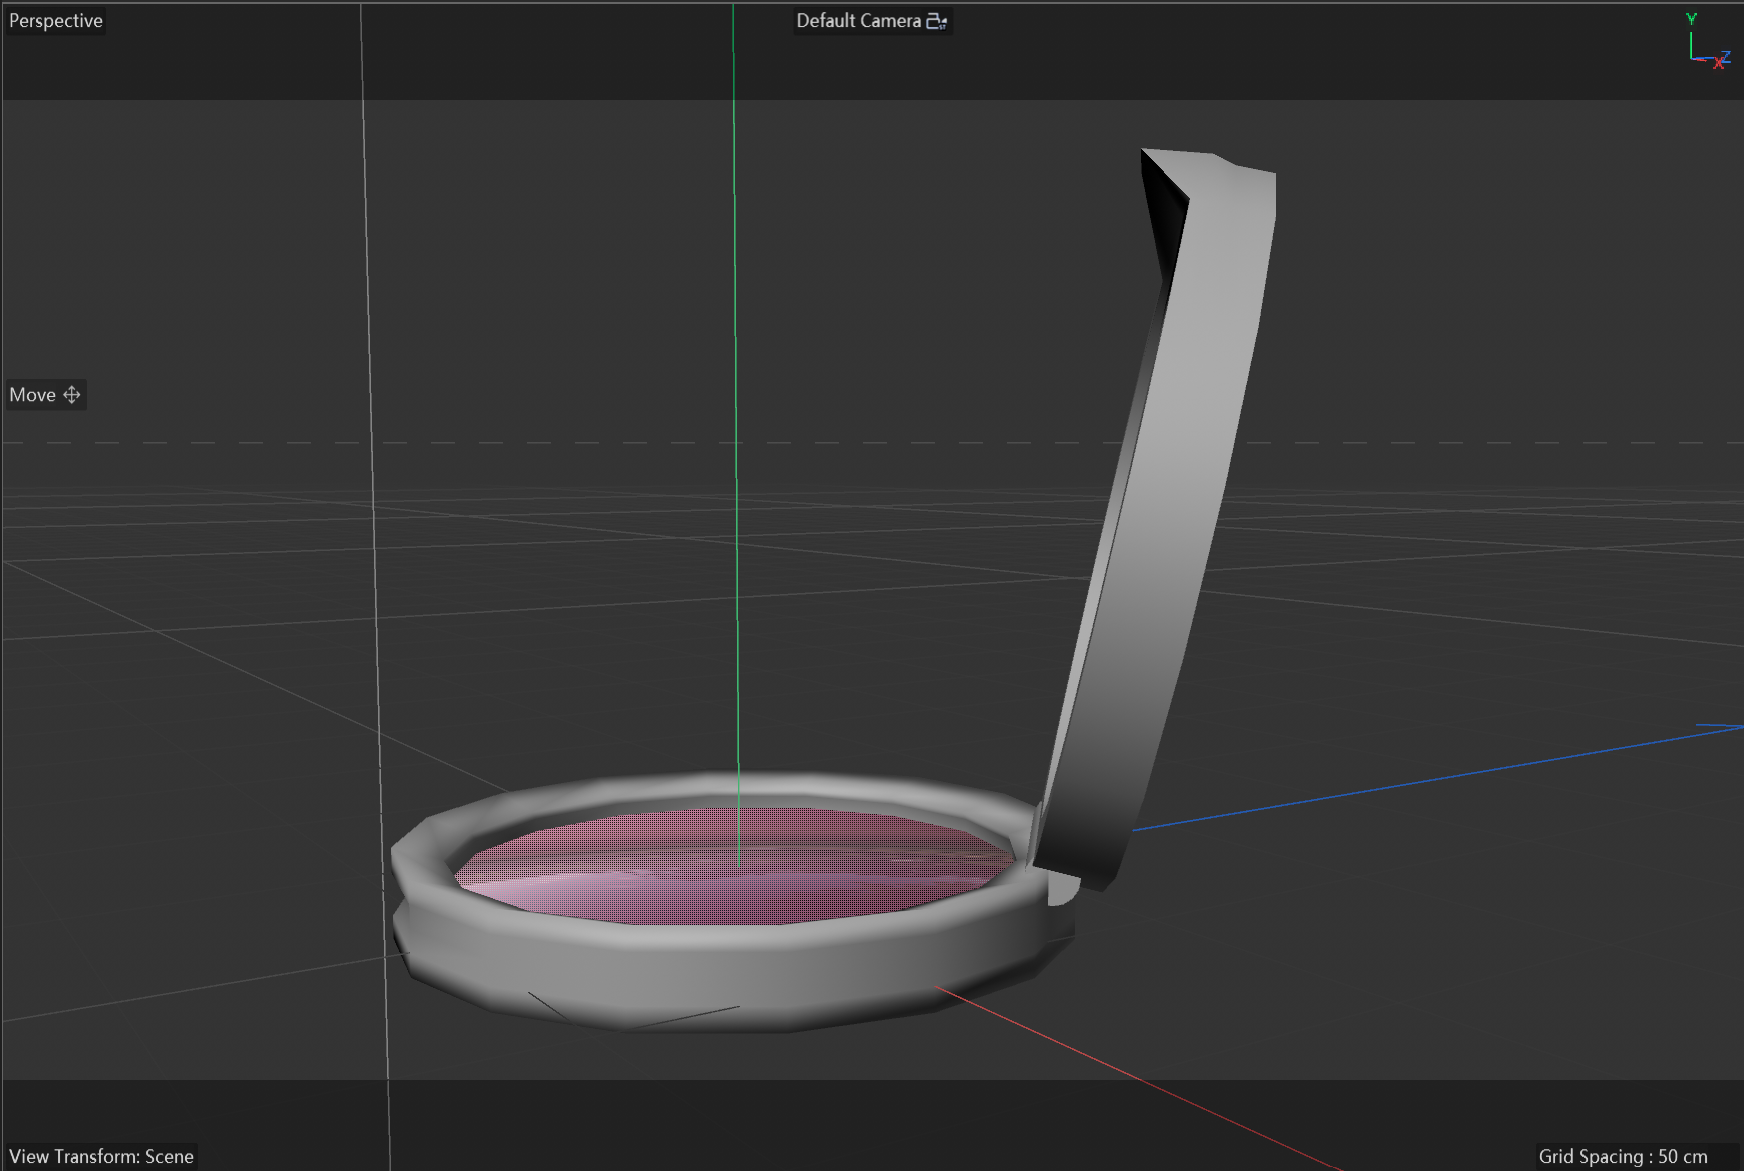
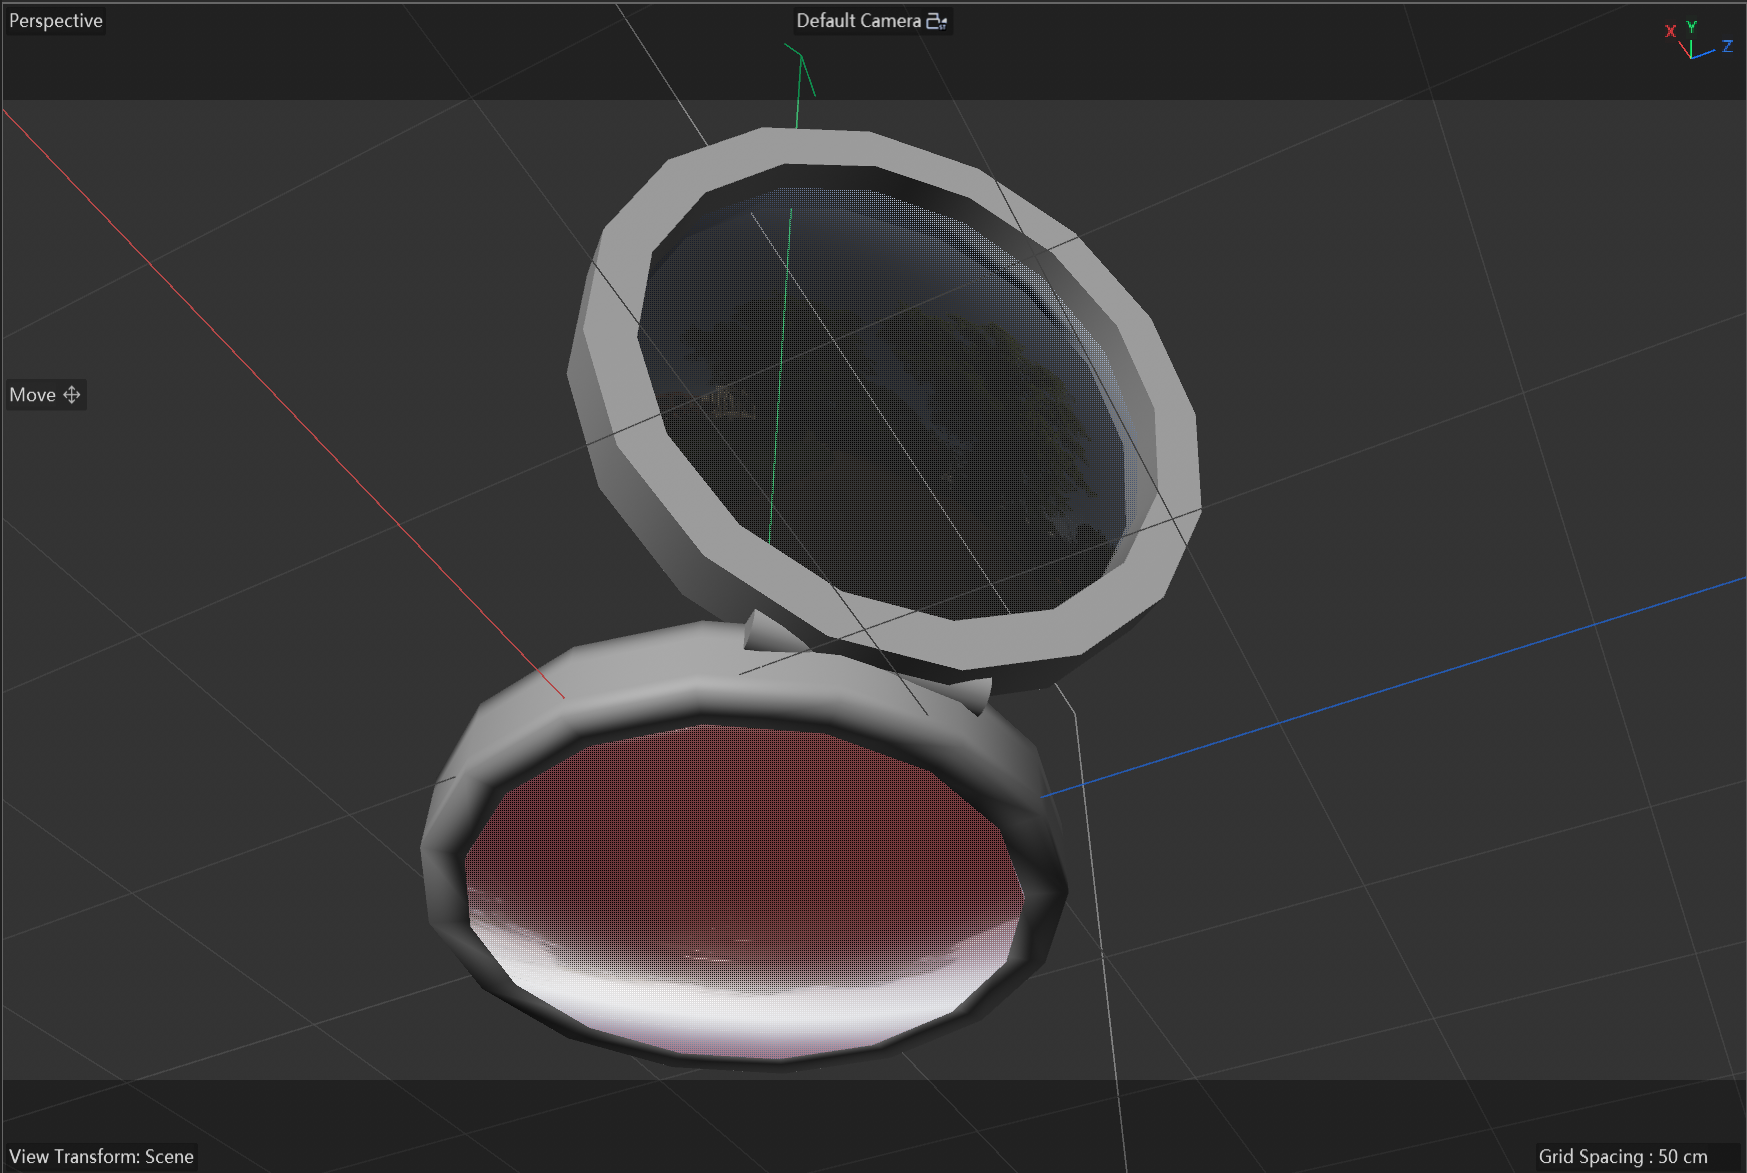
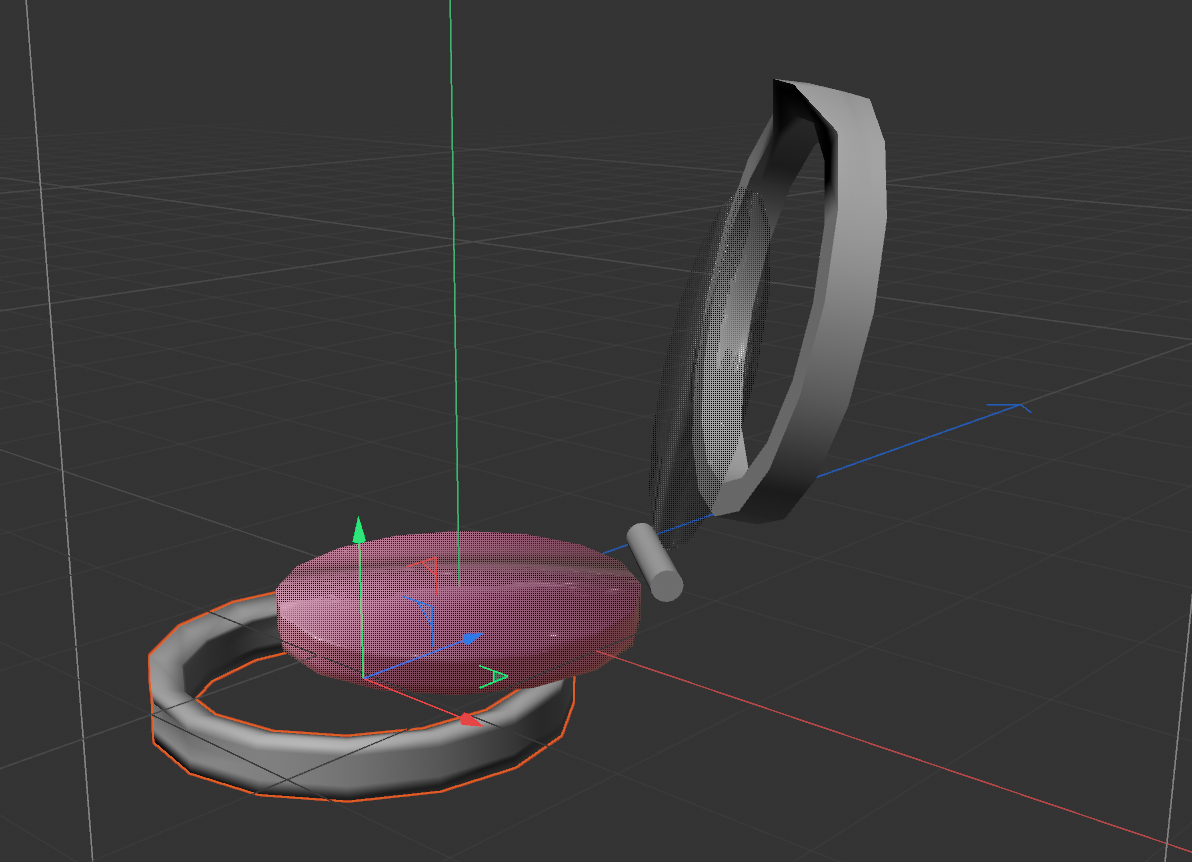
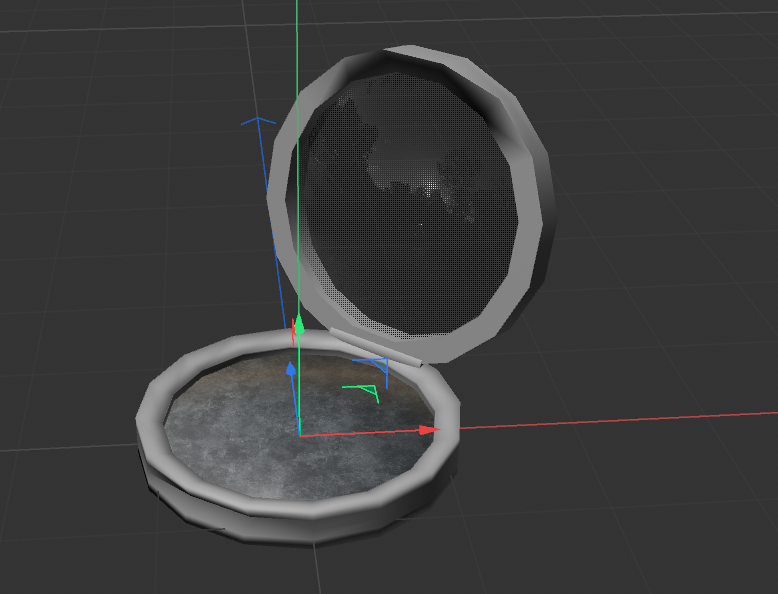
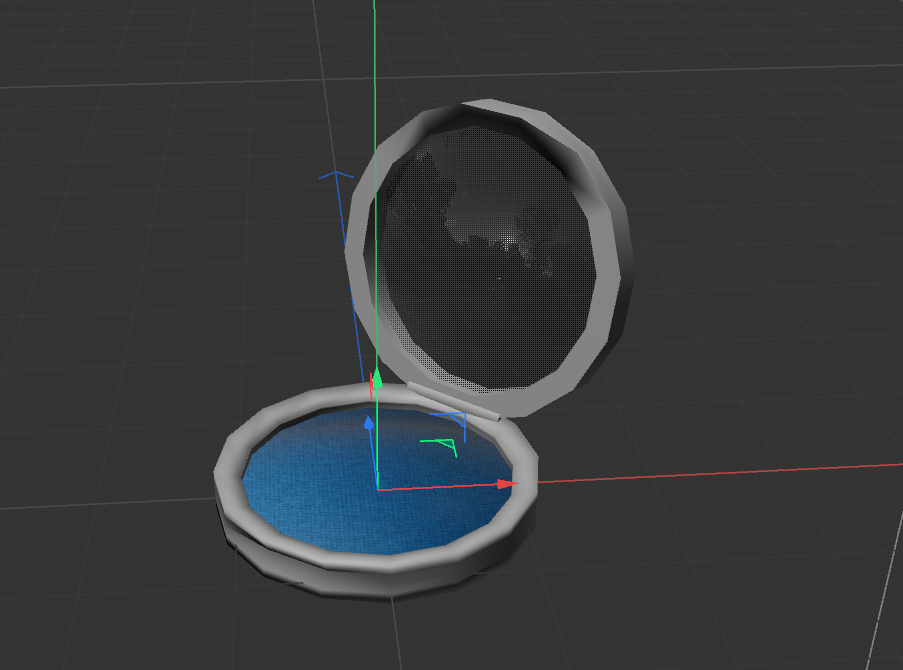
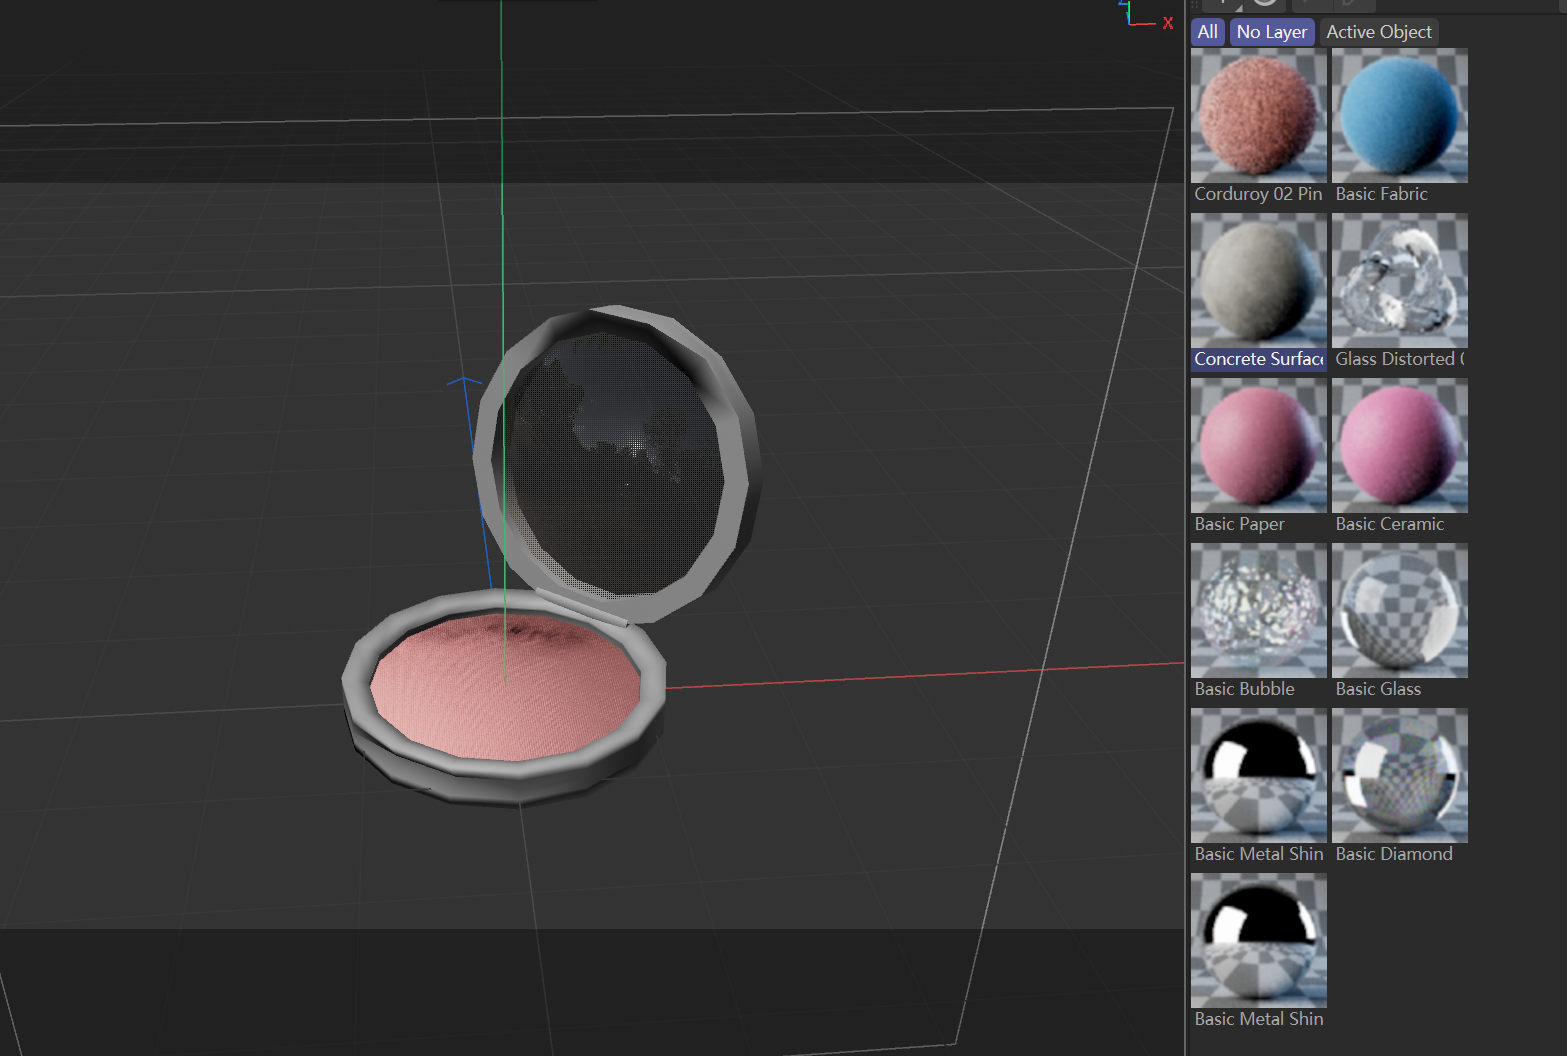
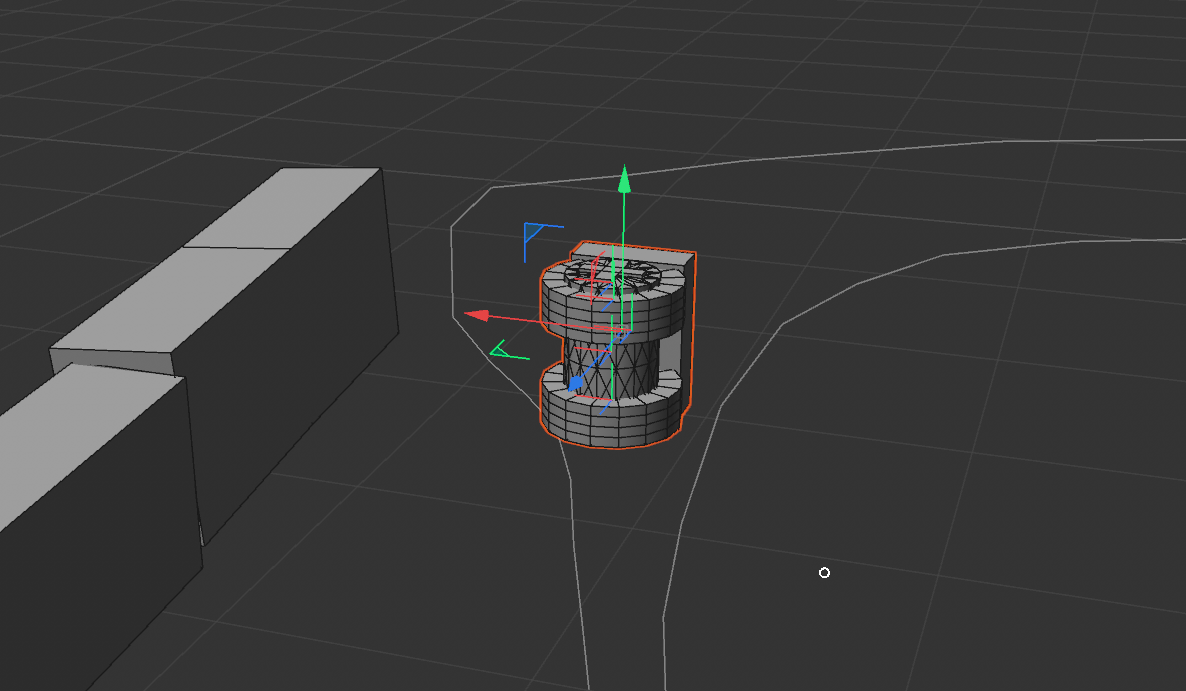
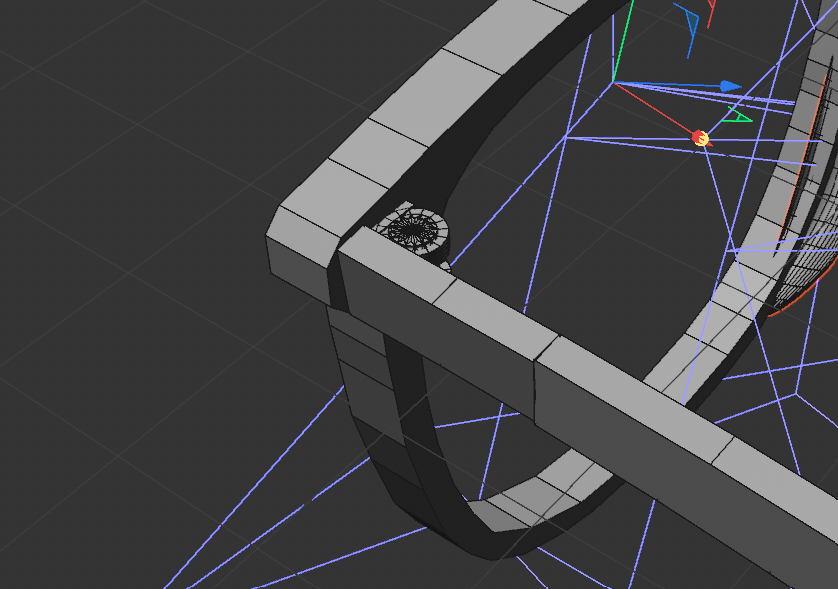
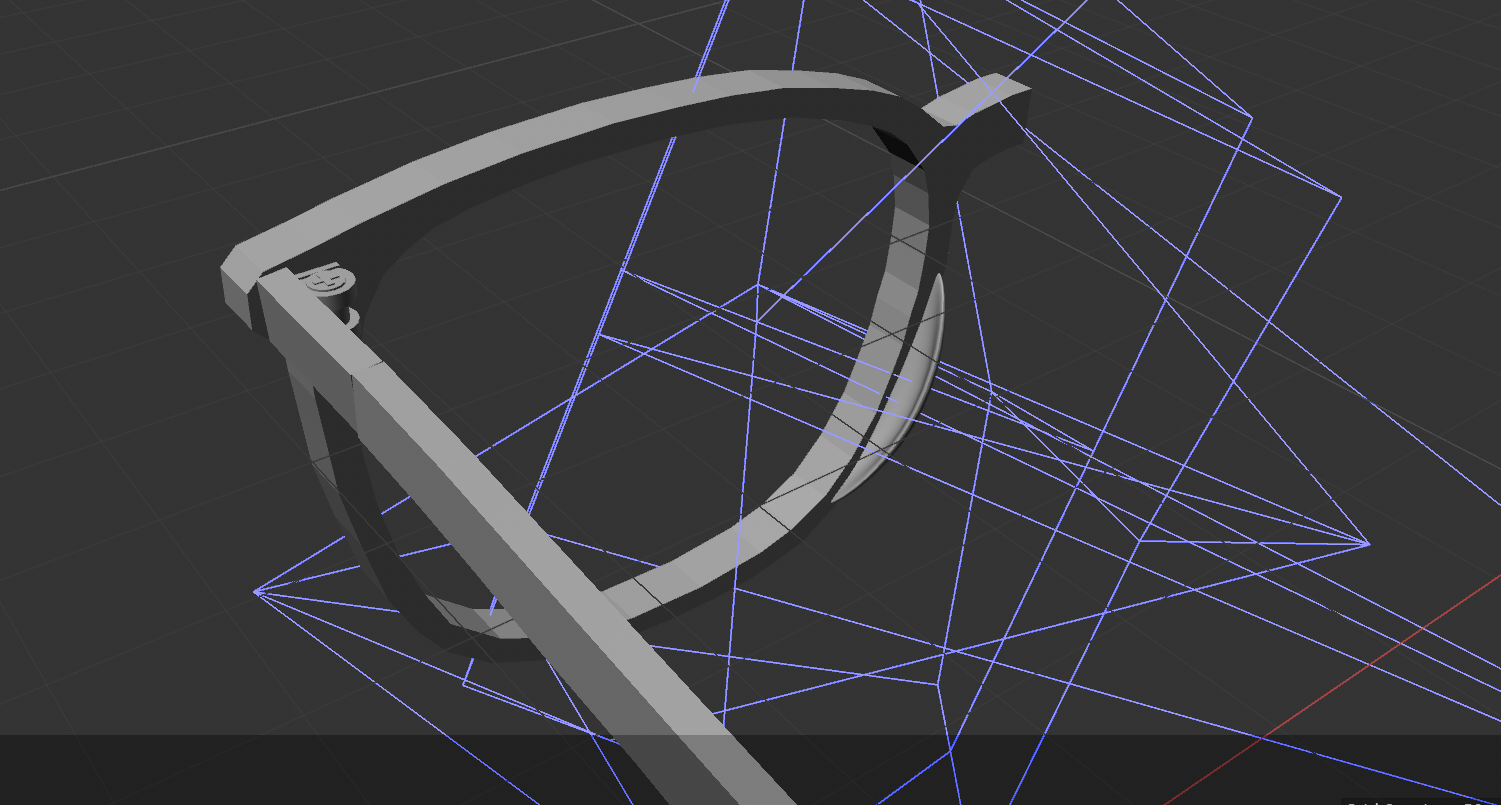
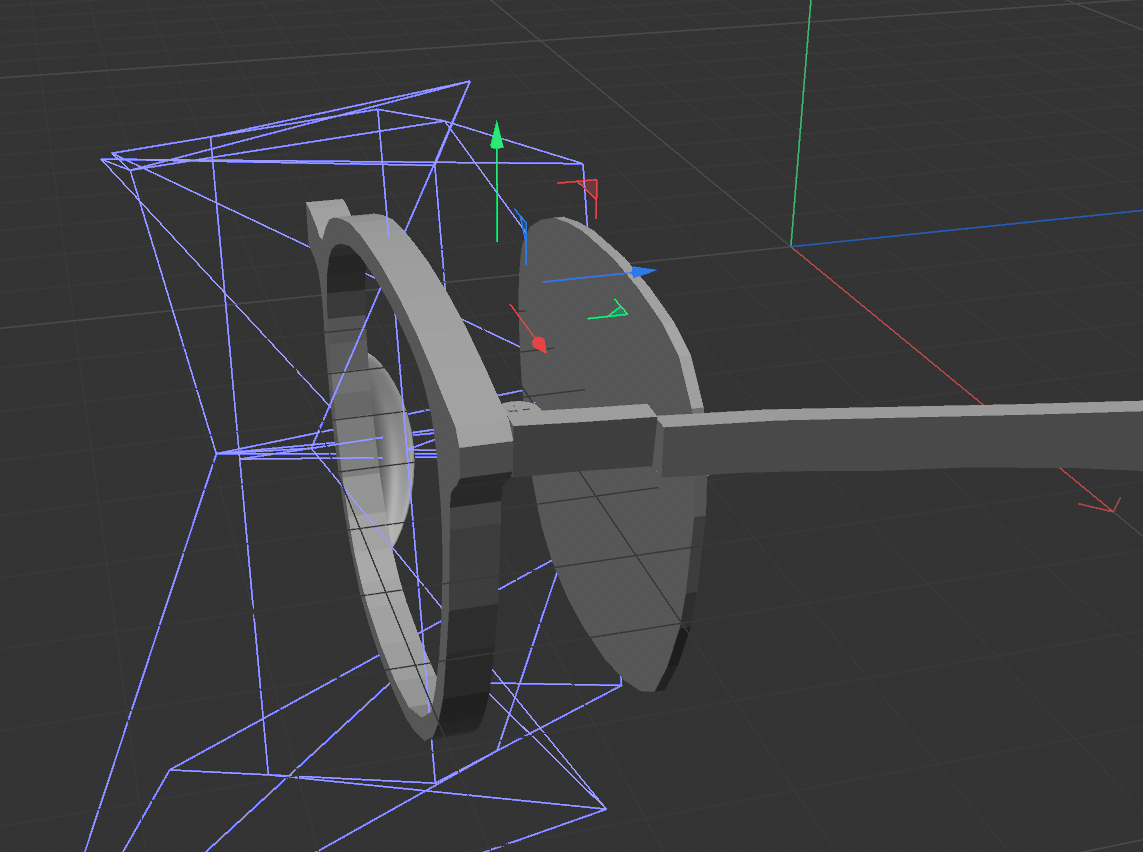
For Challenge 1, I chose a blush compact as the subject of my creation. Using the object as a visual reference, I first broke it down into basic geometric forms: specifically cylinders and tubes, then adjusted these primitive shapes before finally assembling them into a complete object. Below is my conceptualization process and production steps. For Challenge 2, I selected the pair of glasses I wear daily. Since the object consists of complex geometric forms that could not be easily reduced to simple shapes for construction, I explored alternative fabrication methods; the steps involved in this learning and creation process are detailed below.

Design Challenge 1
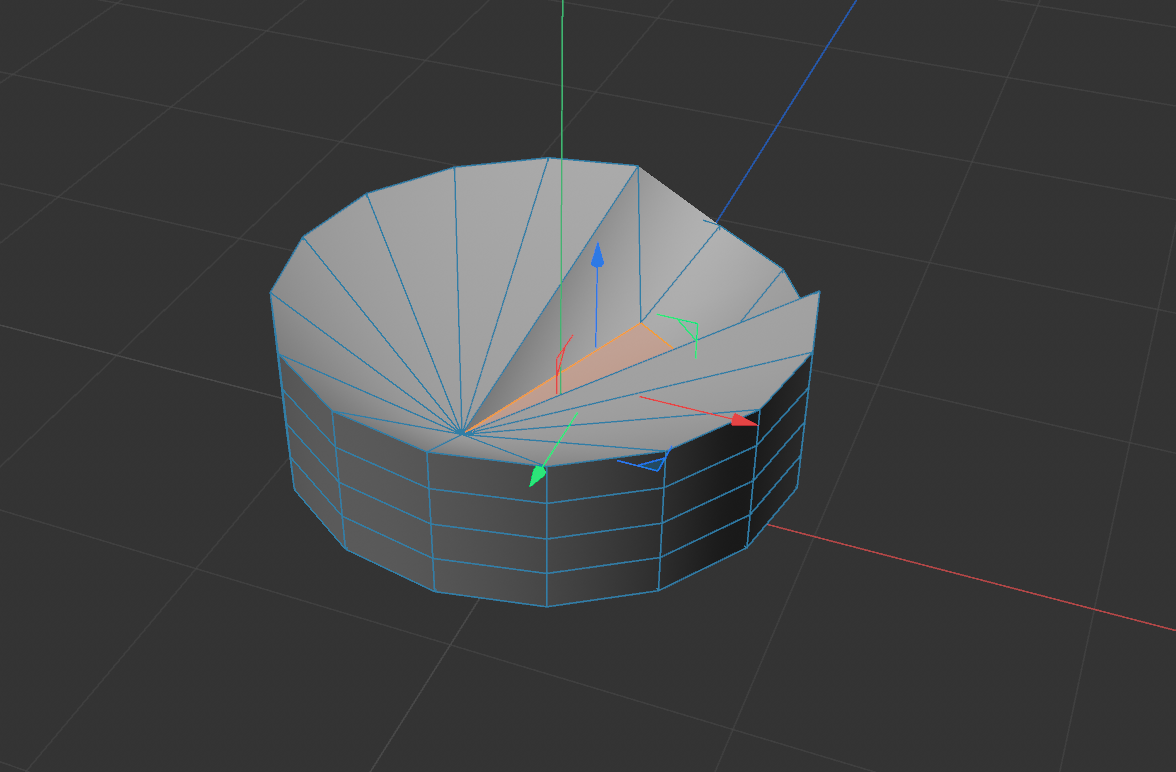
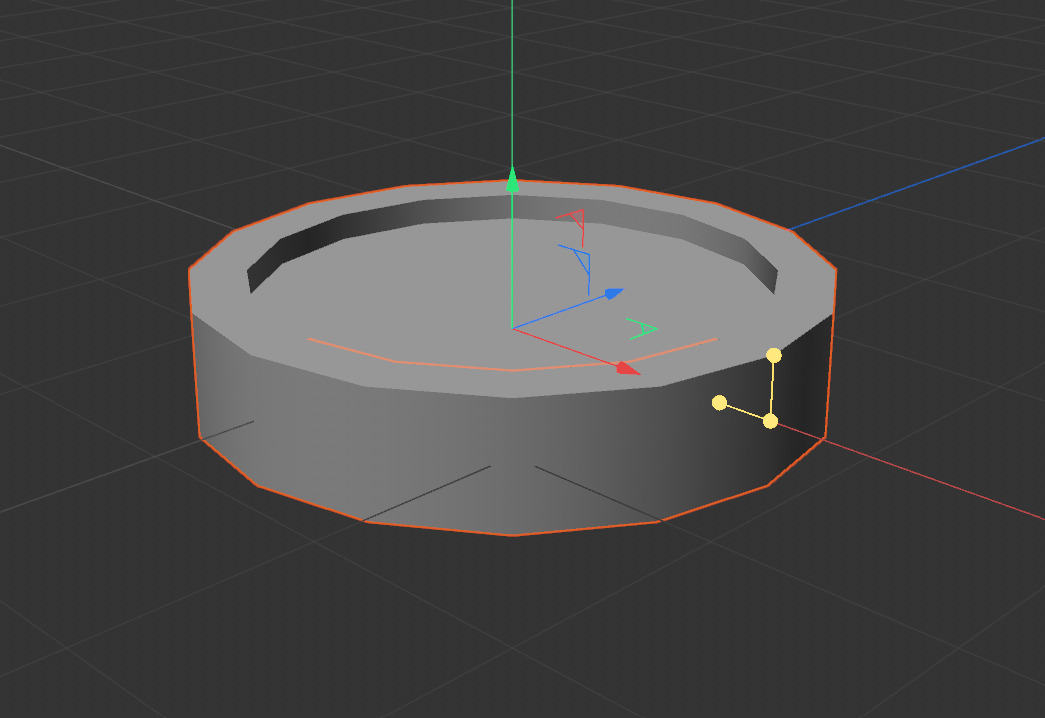
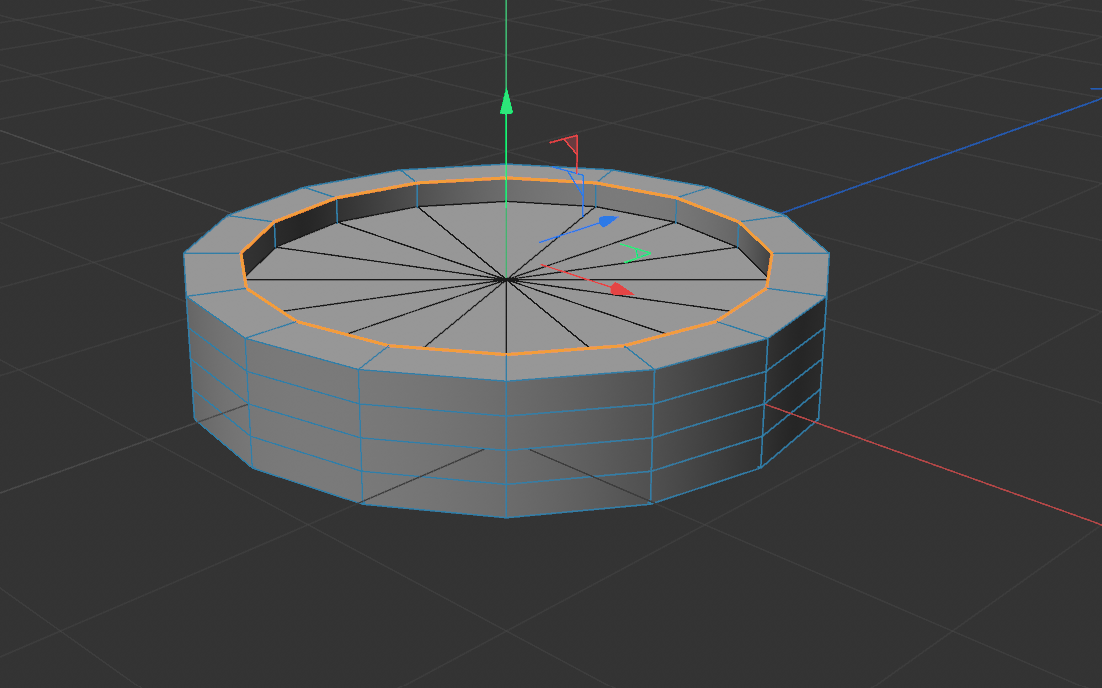
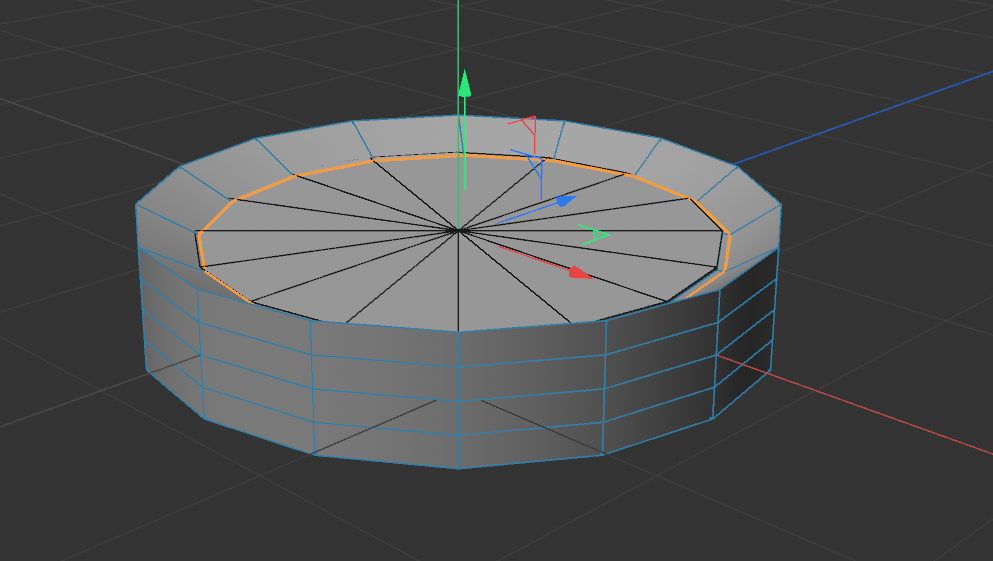
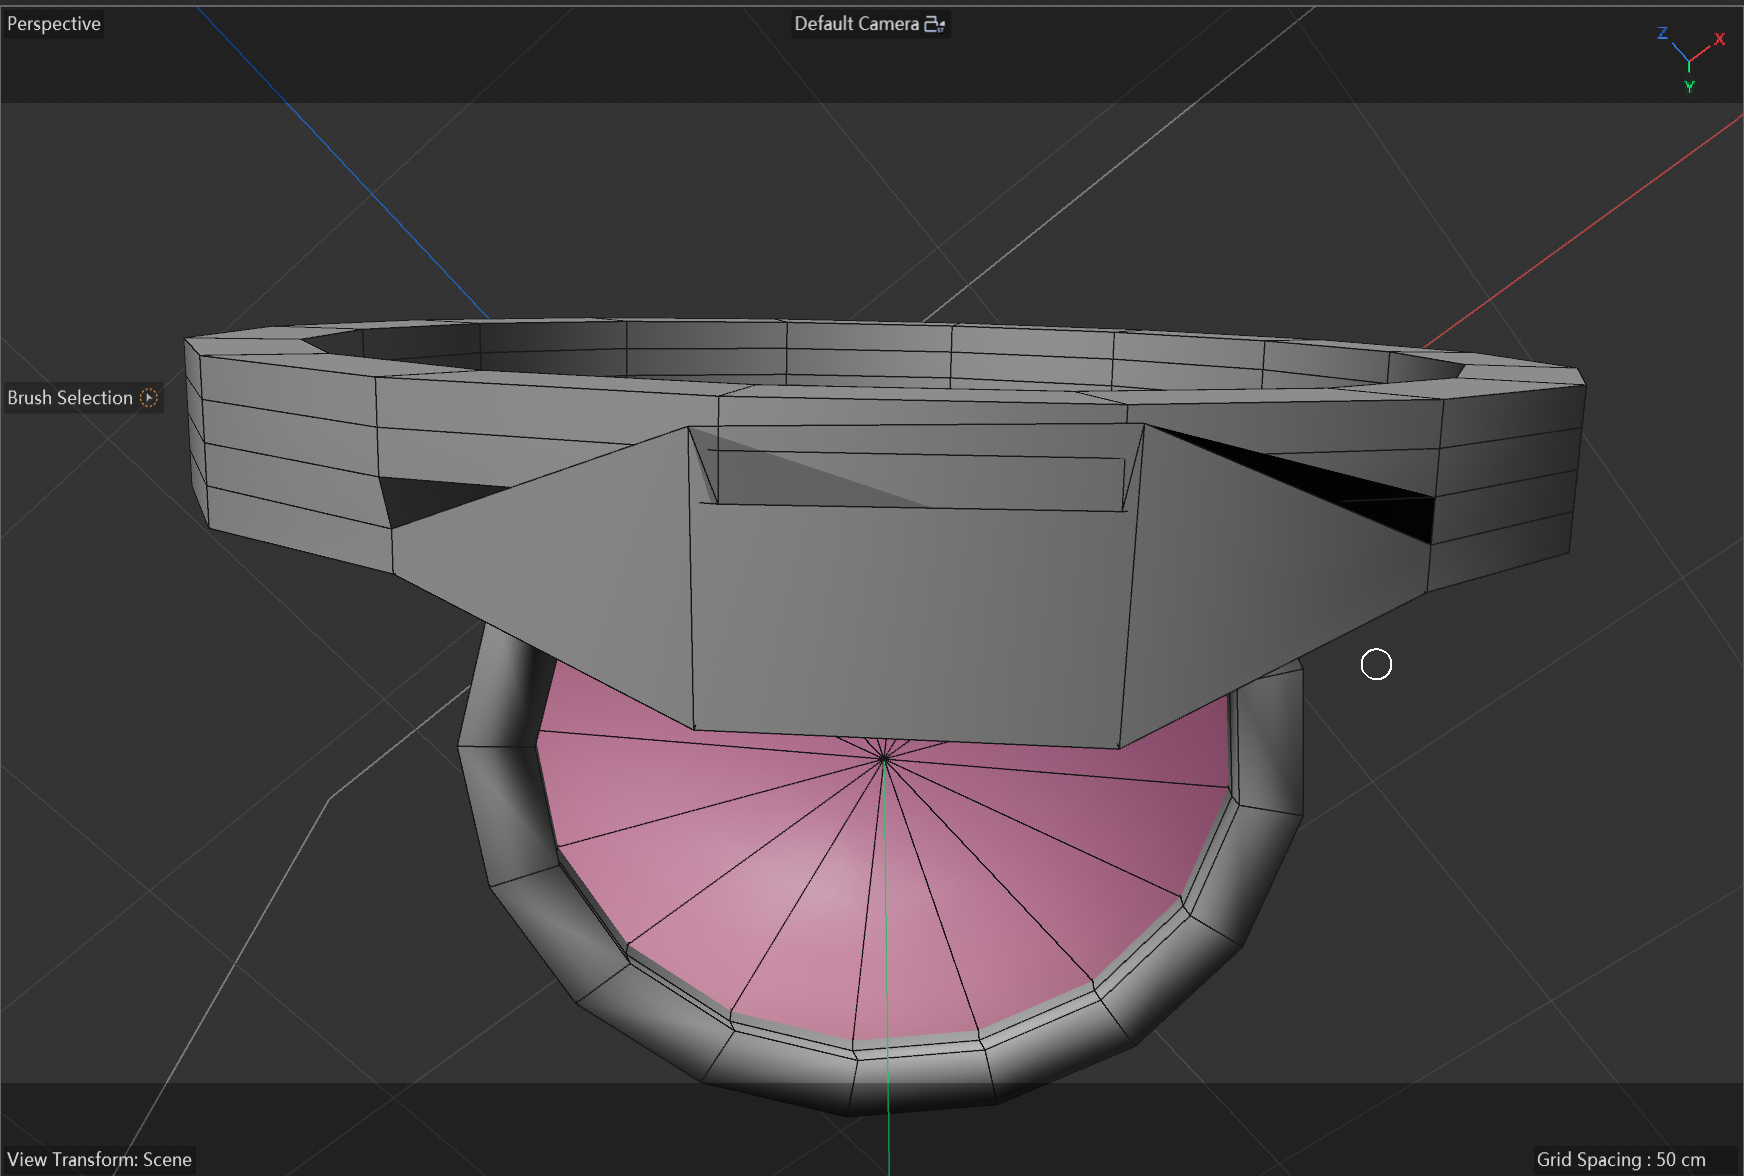
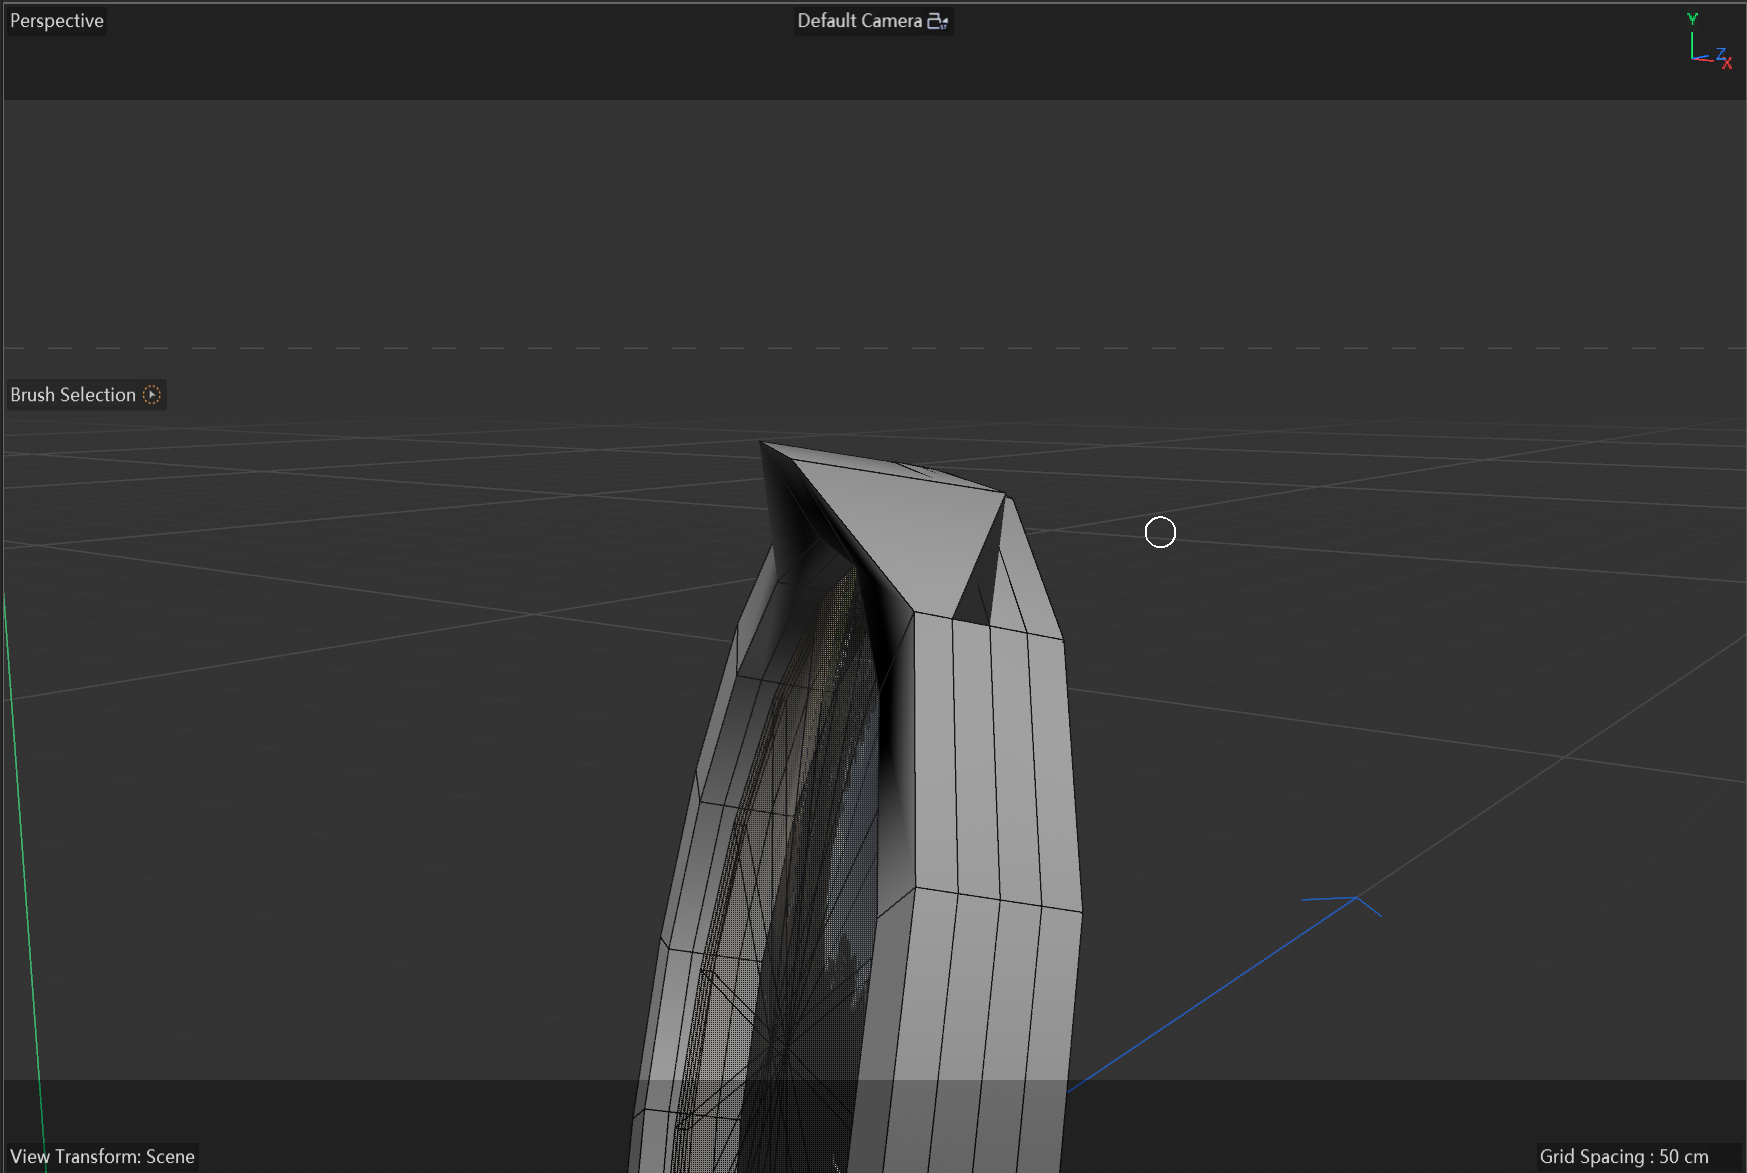
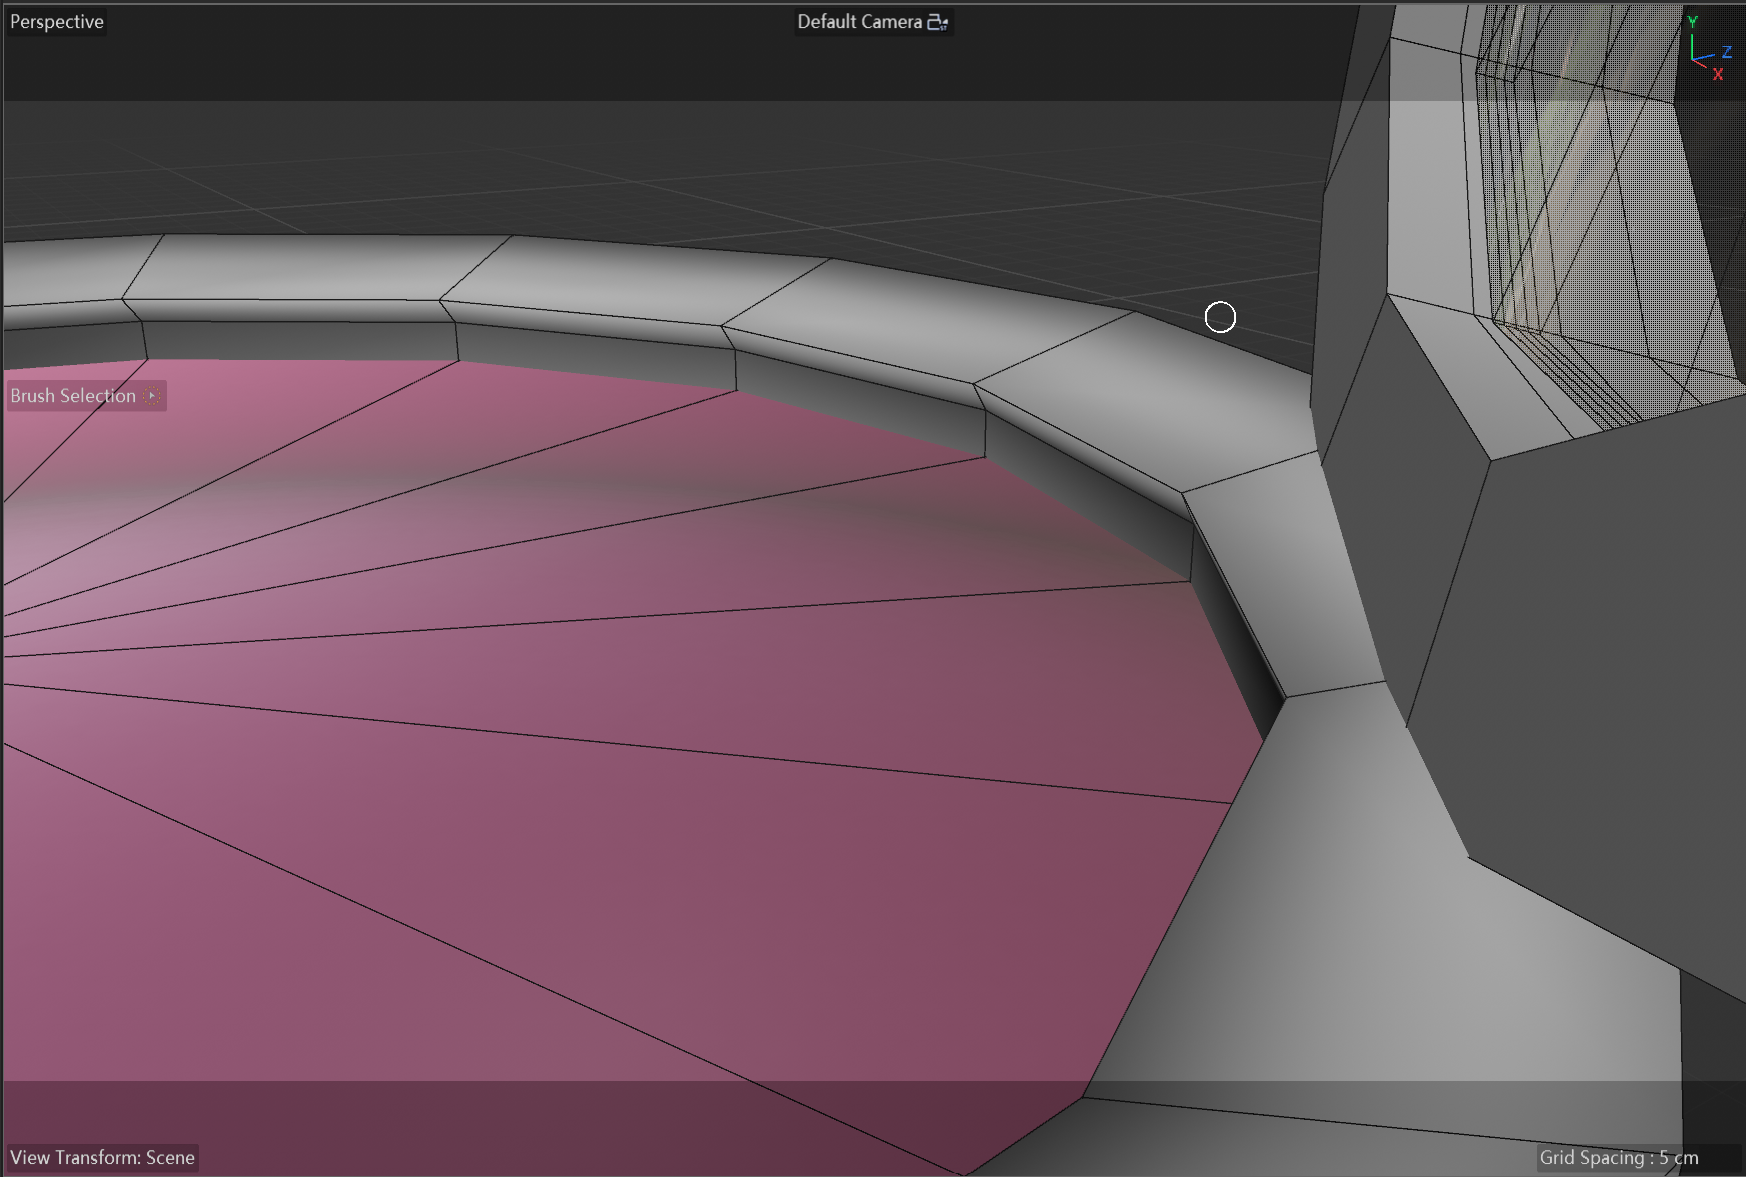
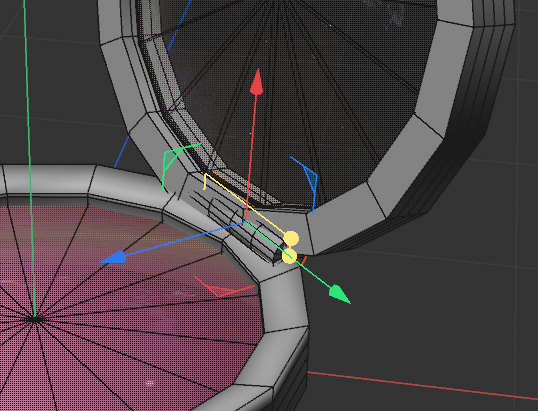
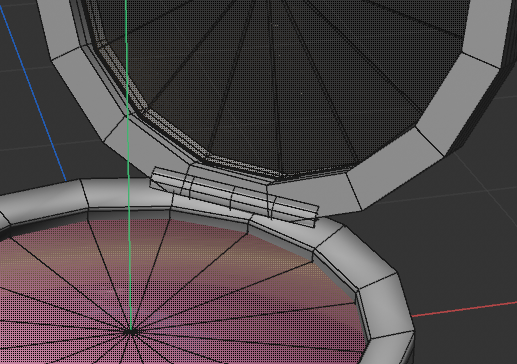
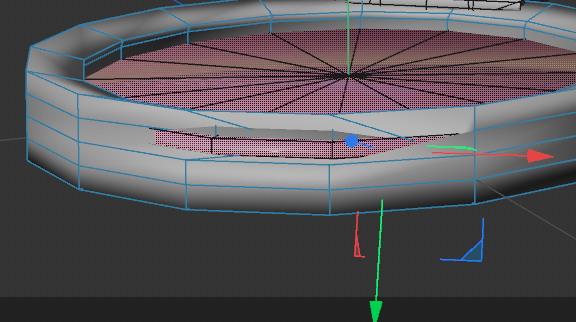
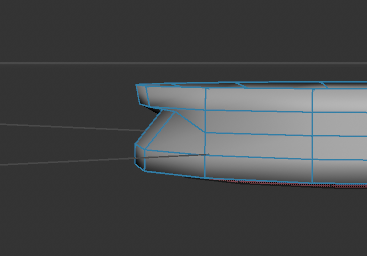
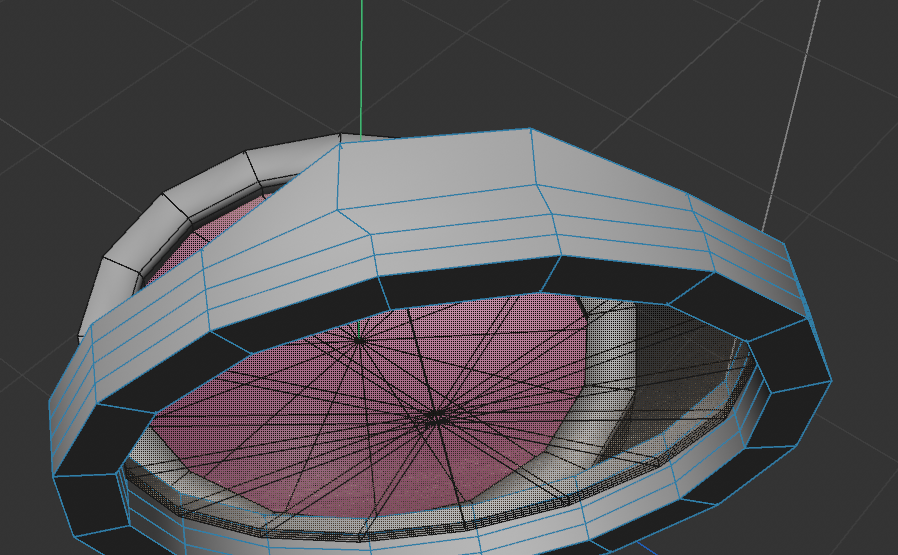
I wanted to try selecting the entire middle section and pulling it straight down to create a depression, but I clearly failed—I was only able to select a single triangle. So I tried a different approach: I chose a tube and a cylinder. Adjust the size and join them vertically. Select the lines by watching the instructional video. Then drag down and adjust the position. This is the result after adjustments, with the guidelines removed. Then, using the same method and making continuous adjustments, I attached the blush lid. This is how it looks after the adjustment—fully adjusted. These are the steps I took to select the blush color and modify the material of the lid, as I felt this approach better highlights the placement of the blush. This is the top surface of the blush compact lid (where the latch is located); this is my initial attempt to create the shape of the latch. This is a detailed side view of the buckle. This is the hinge at the starting point; nothing is connected to it, so it looks a bit odd. Then I tried making a button to make it look natural. This is how it looks after the adjustment. While I was making the bottom latch, I discovered that dragging it easily caused clipping issues with the internal parts. This is a close-up view of the side profile of the finished piece, as the details are not easily visible from the front. Here is another view of the blush palette; you can see that the lid is transparent. This is what it looks like with the guidelines removed. This is an exploded view. Image showing blush applied to the side of the face. Image of the bottom of the blush. A more detailed exploded view. I was trying to adjust the color of the blush-colored body; I found that this material looks more like blush, but the color itself cannot be changed. I was also trying to adjust the color of the Ultimately, I felt this texture most closely resembled blush, and the color was a great match, so I chose this one.

Design Challenge 2
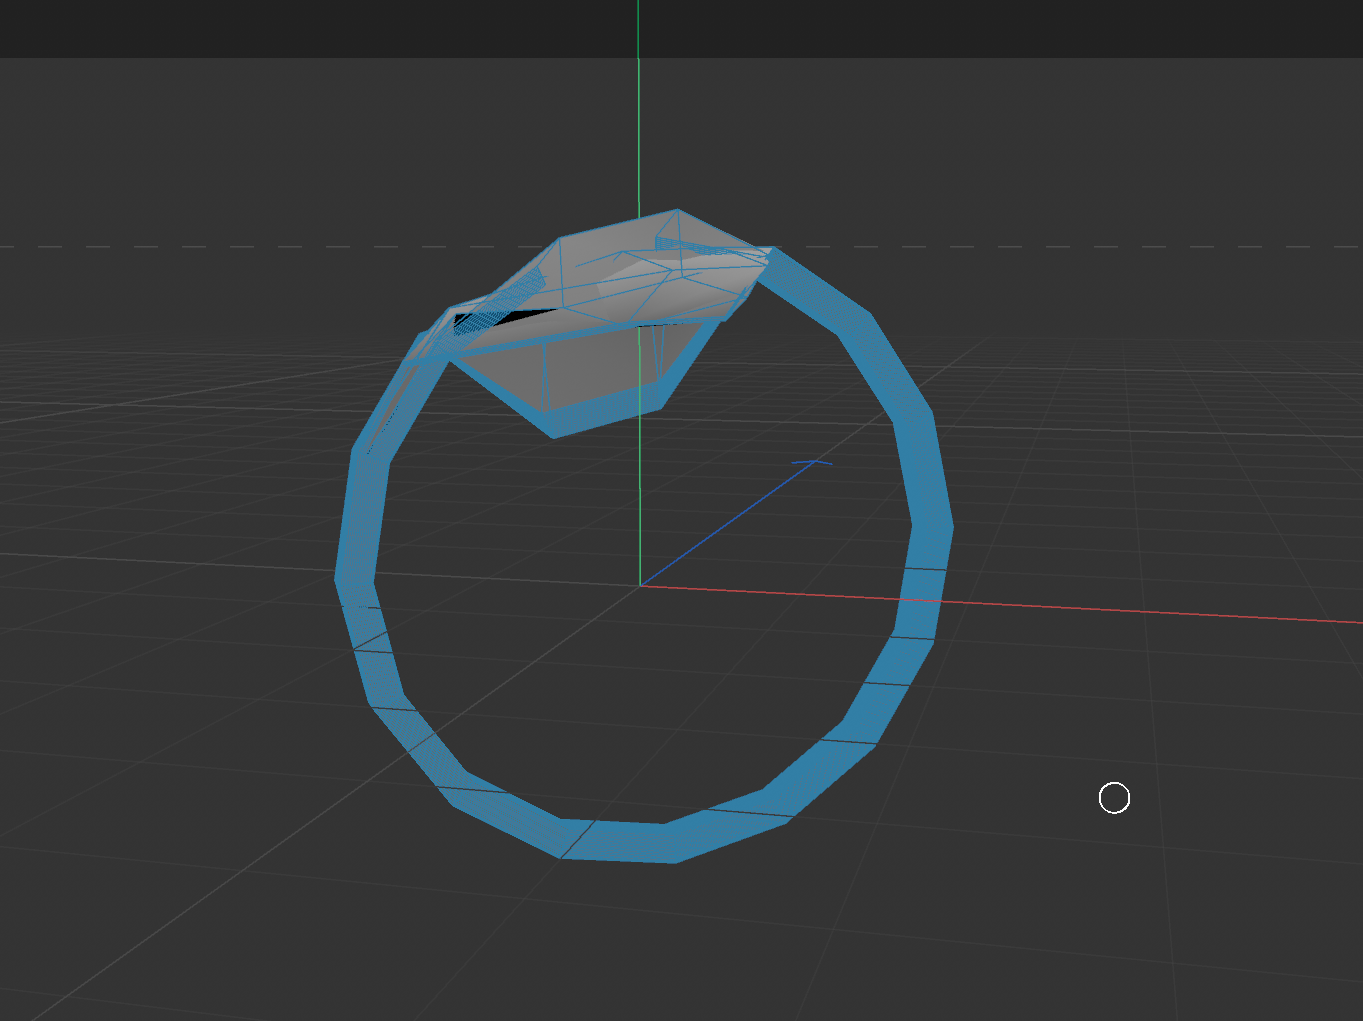
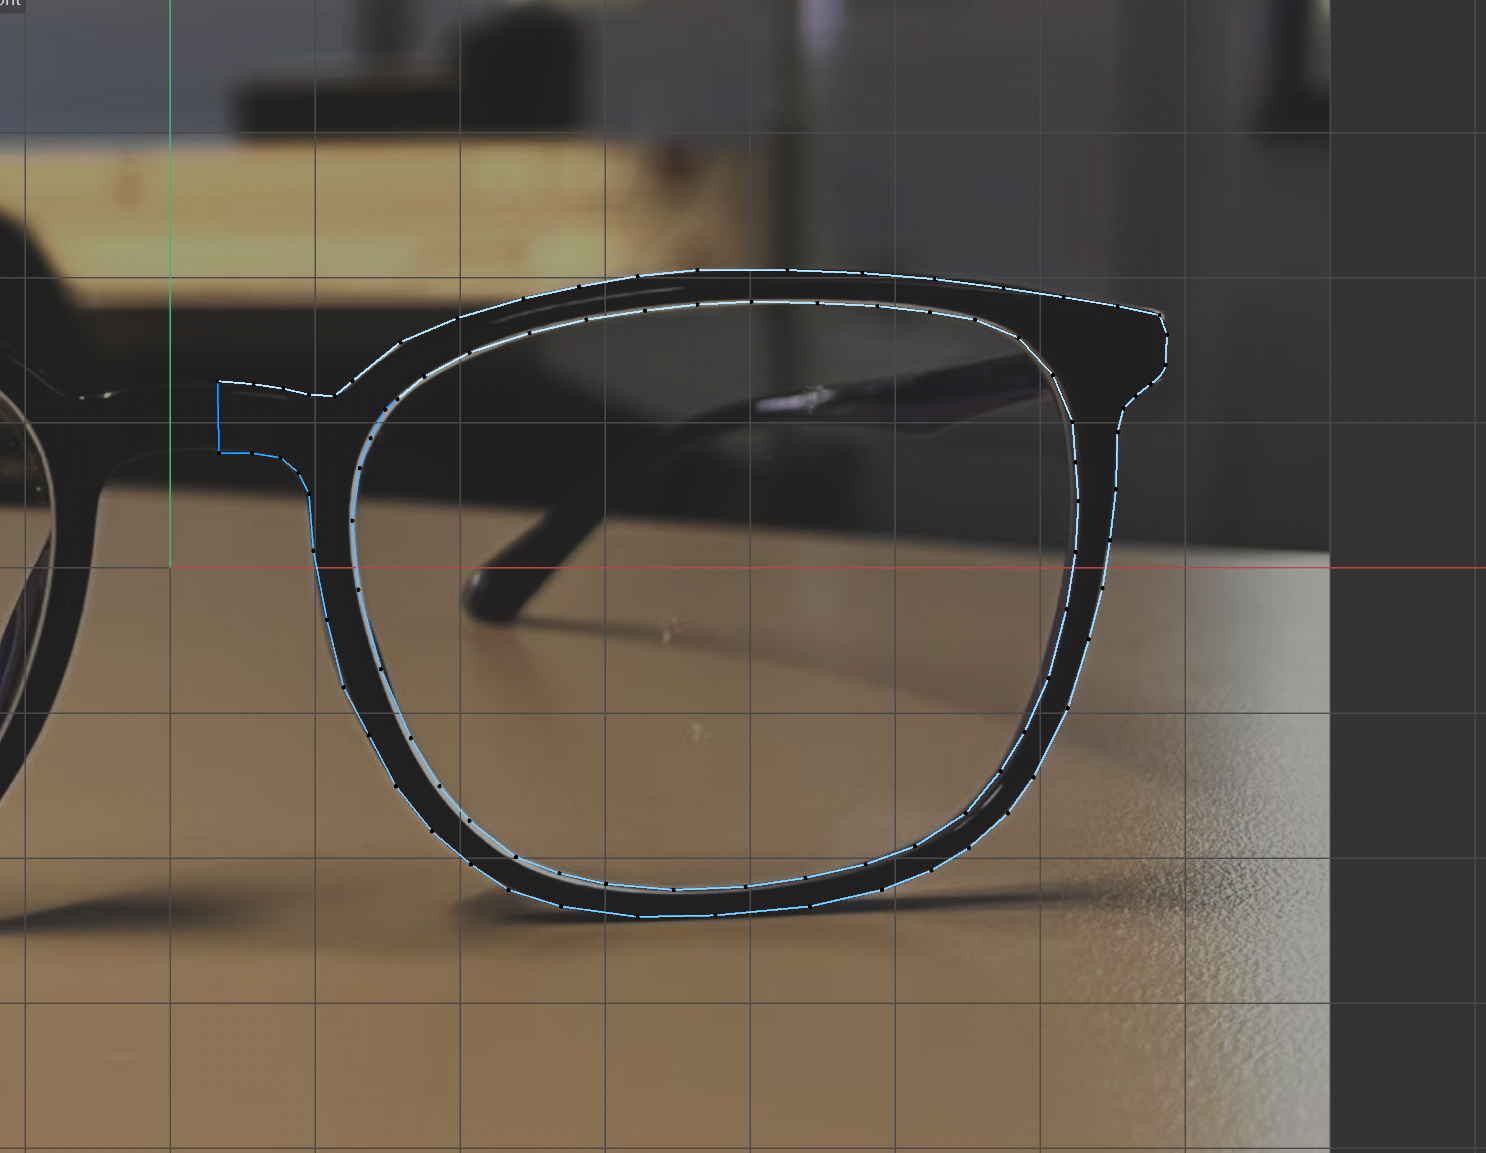
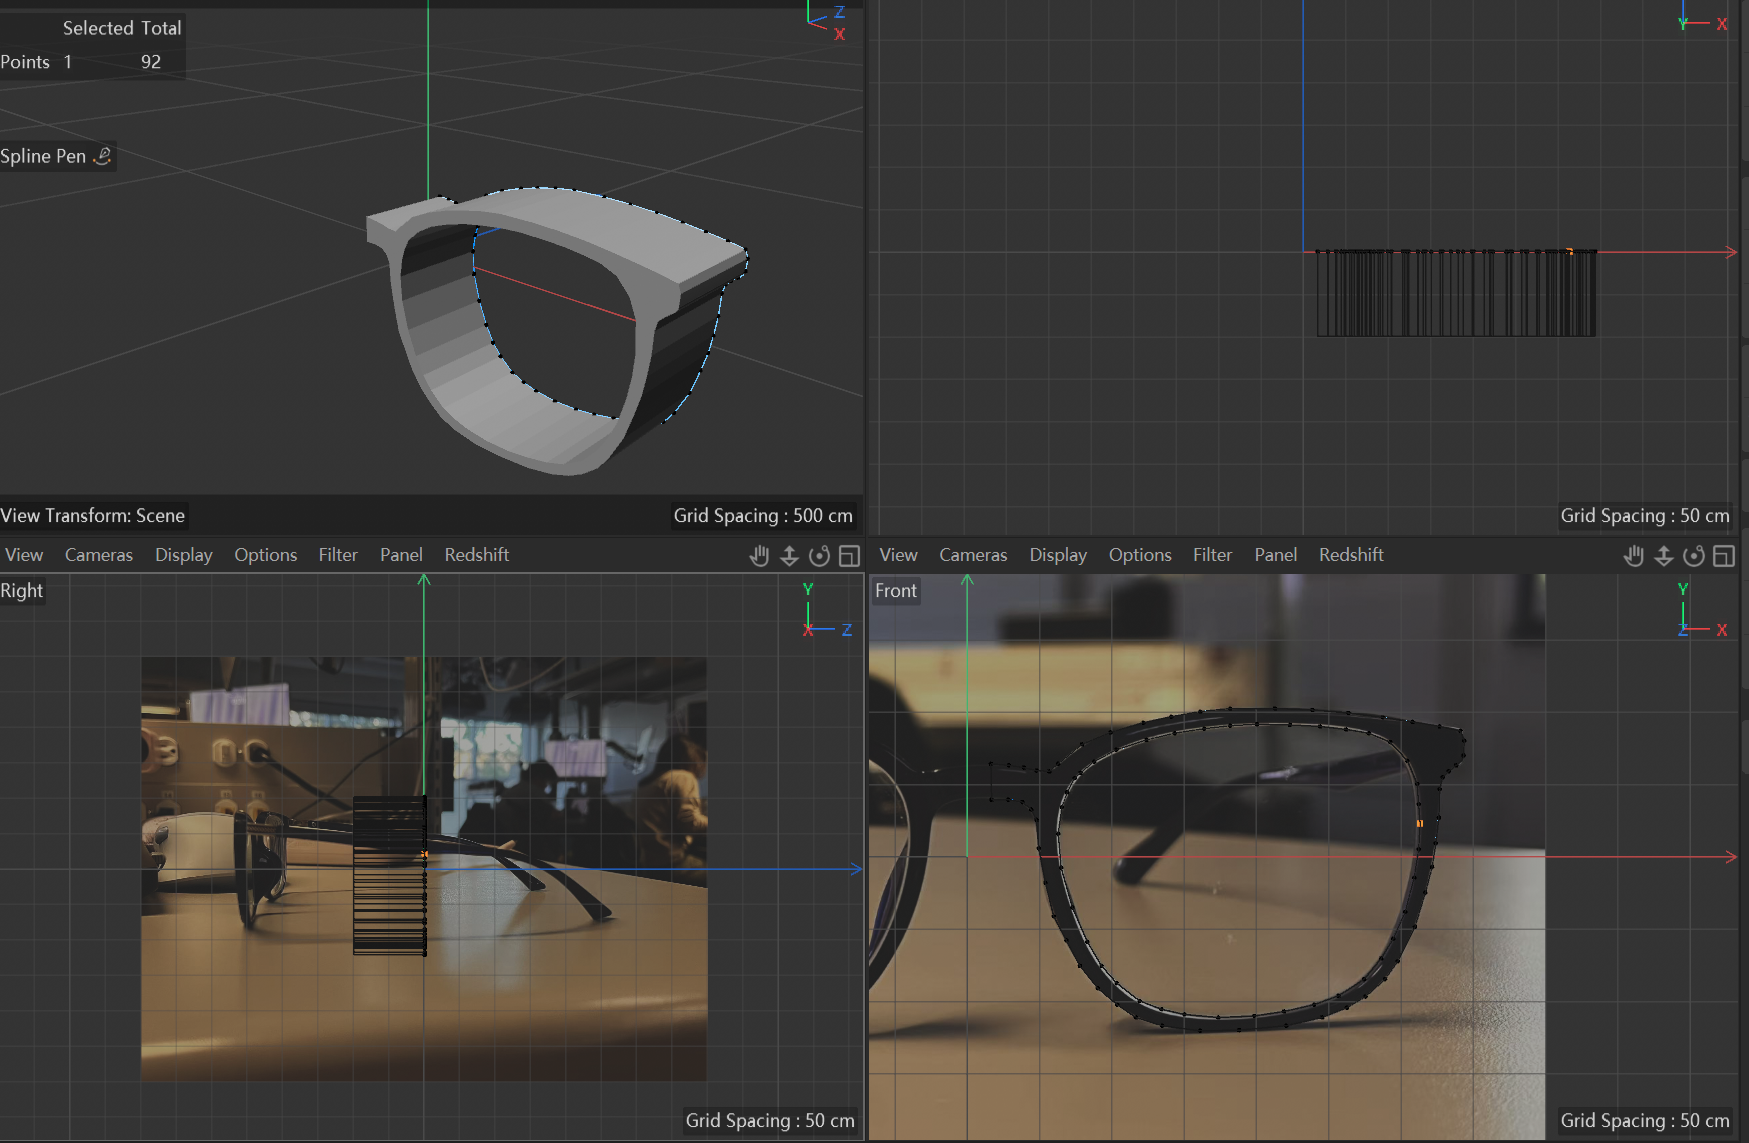
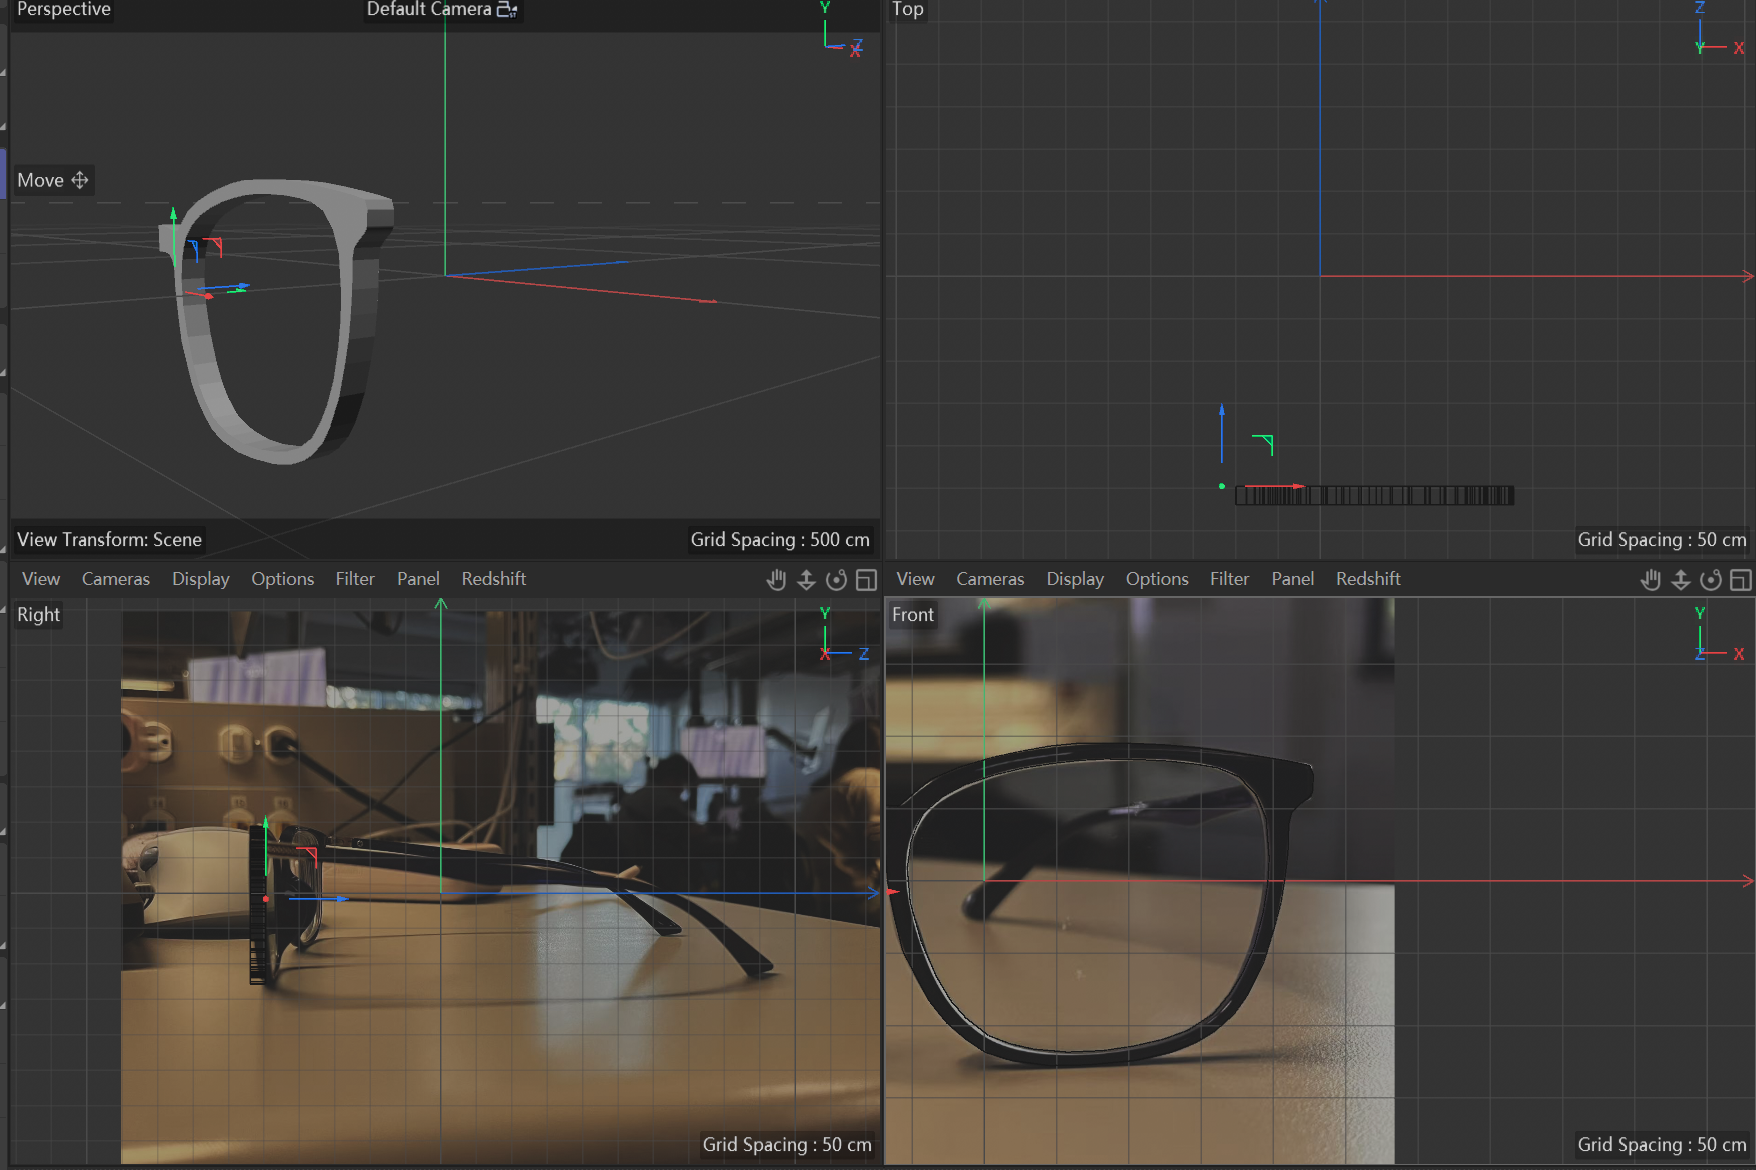
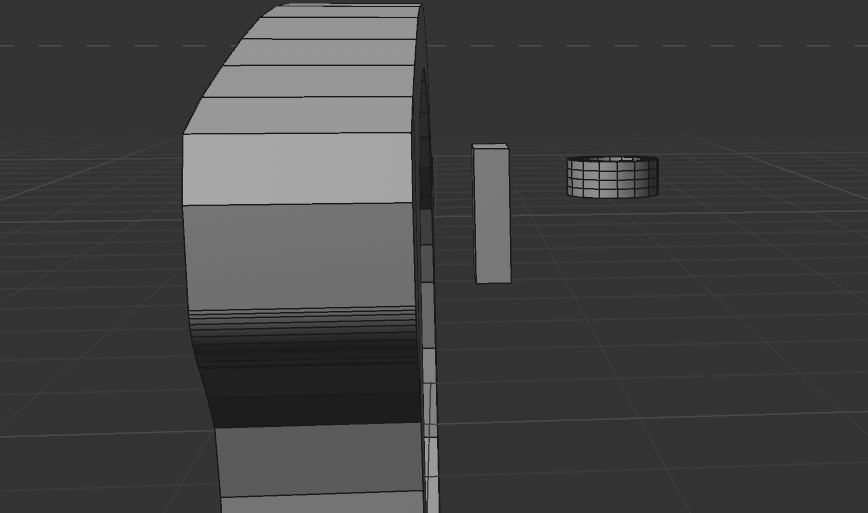
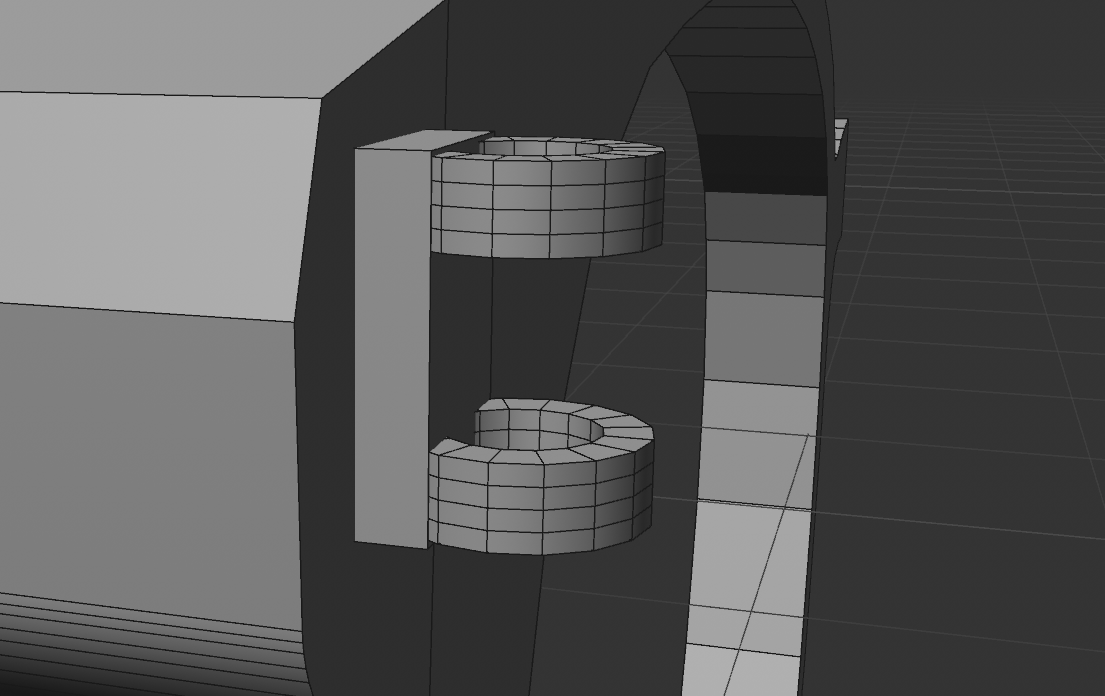
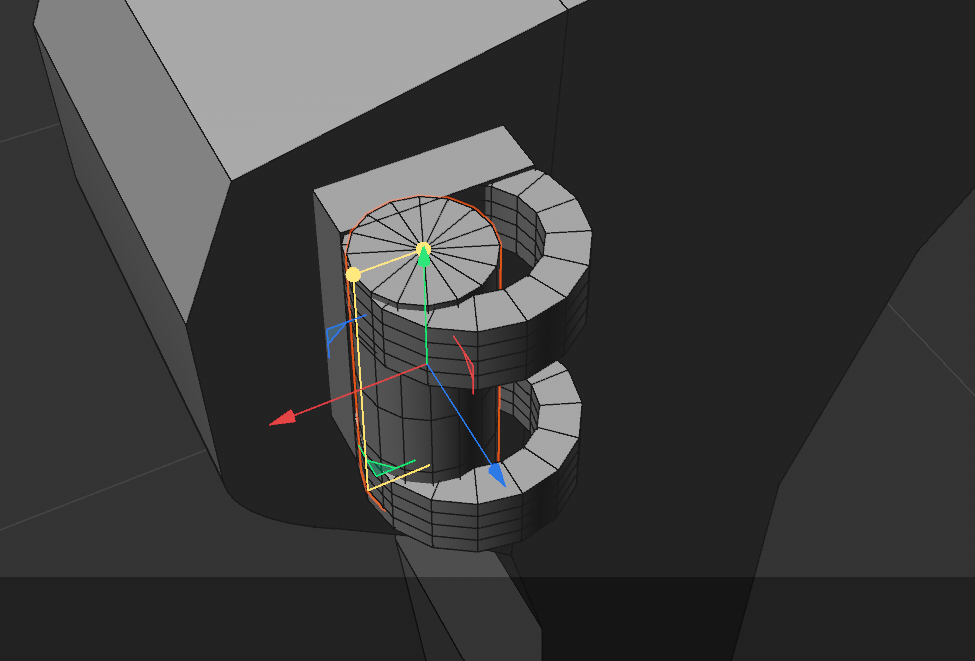
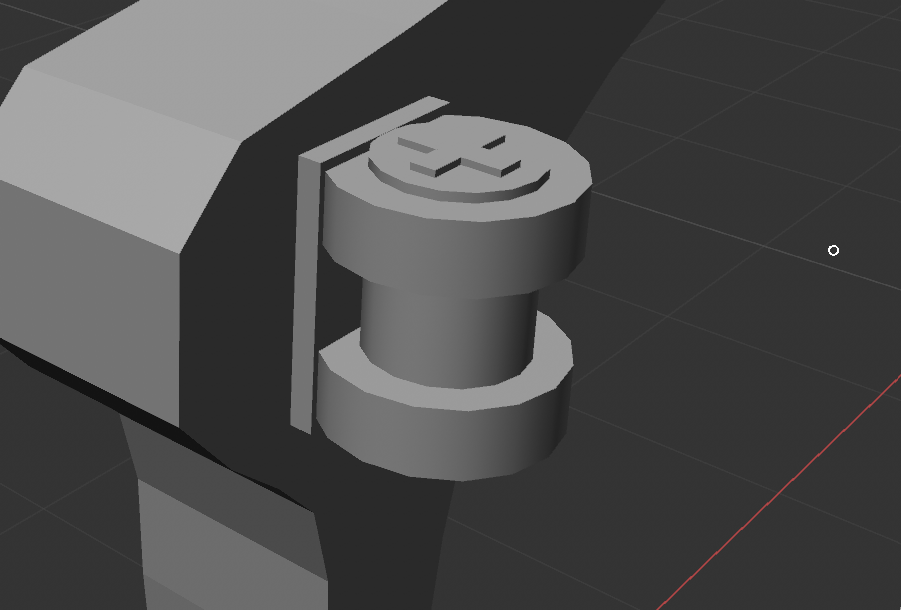
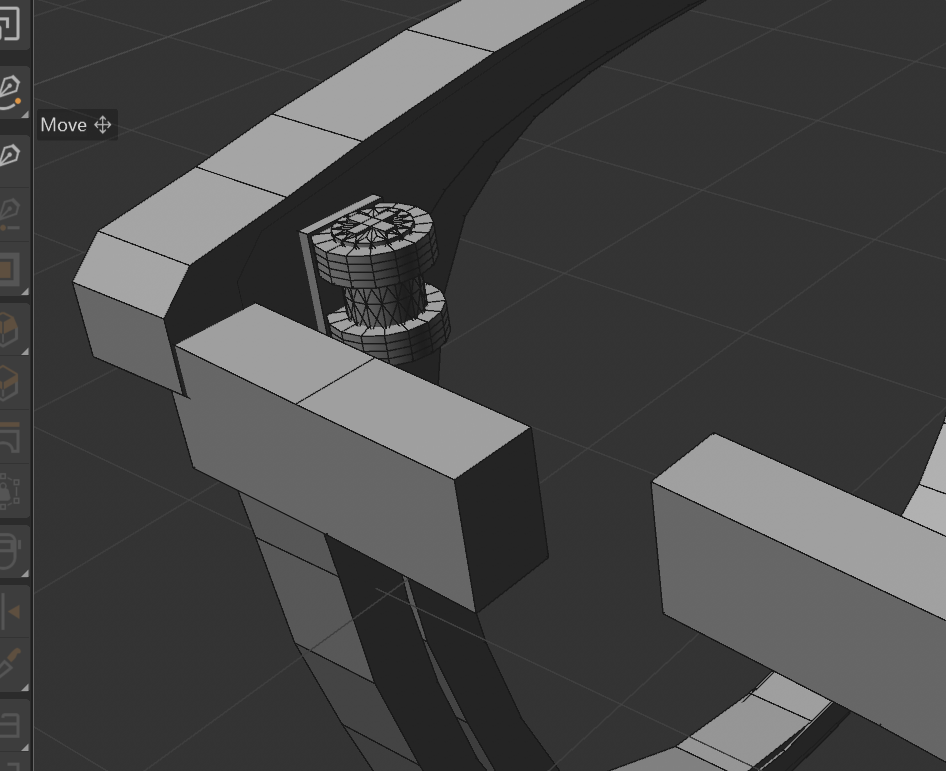
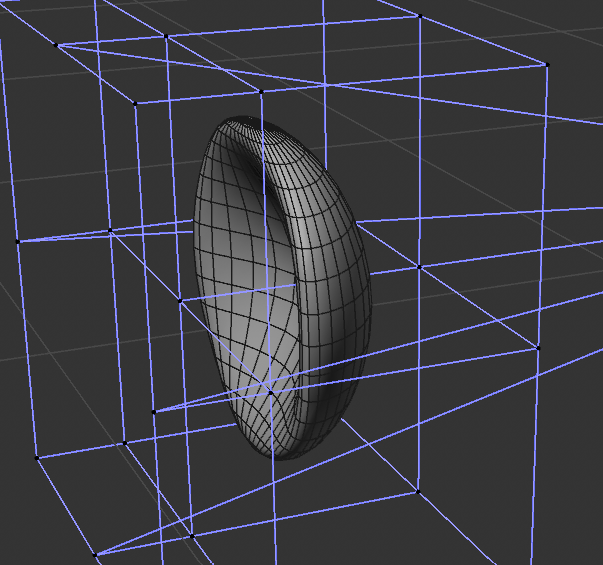
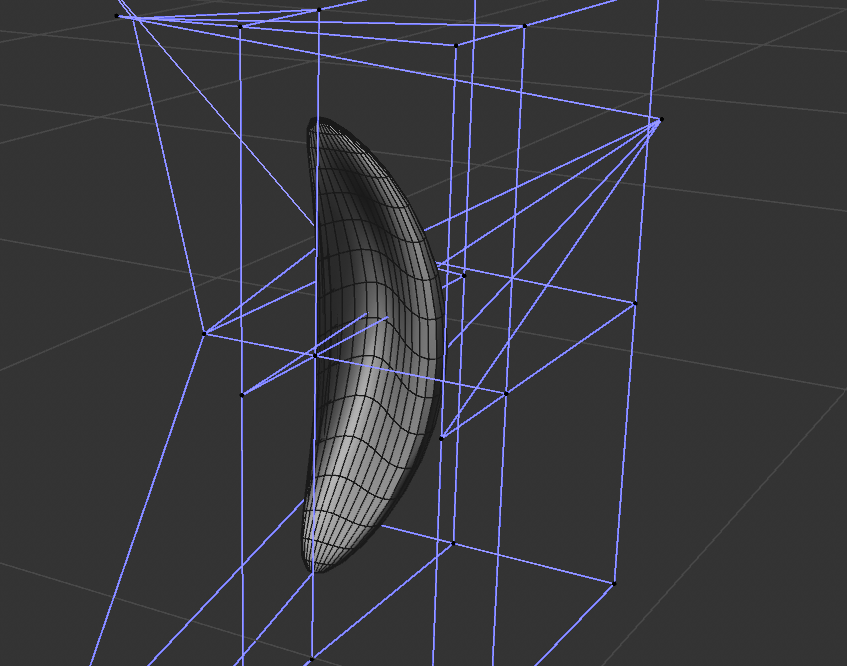
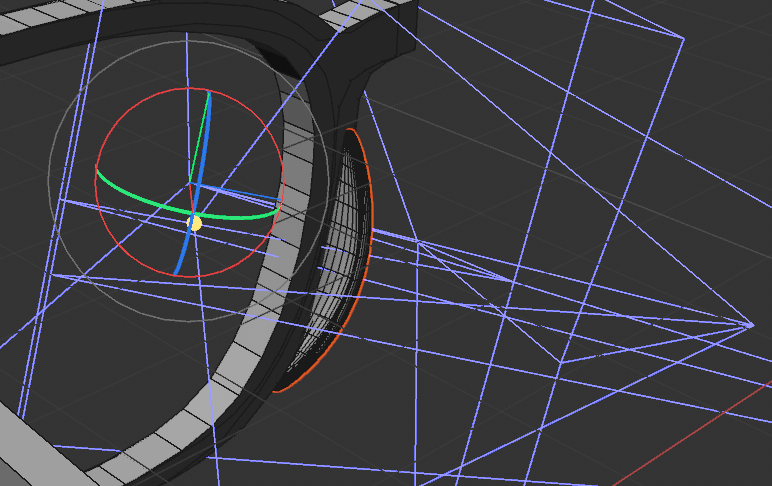
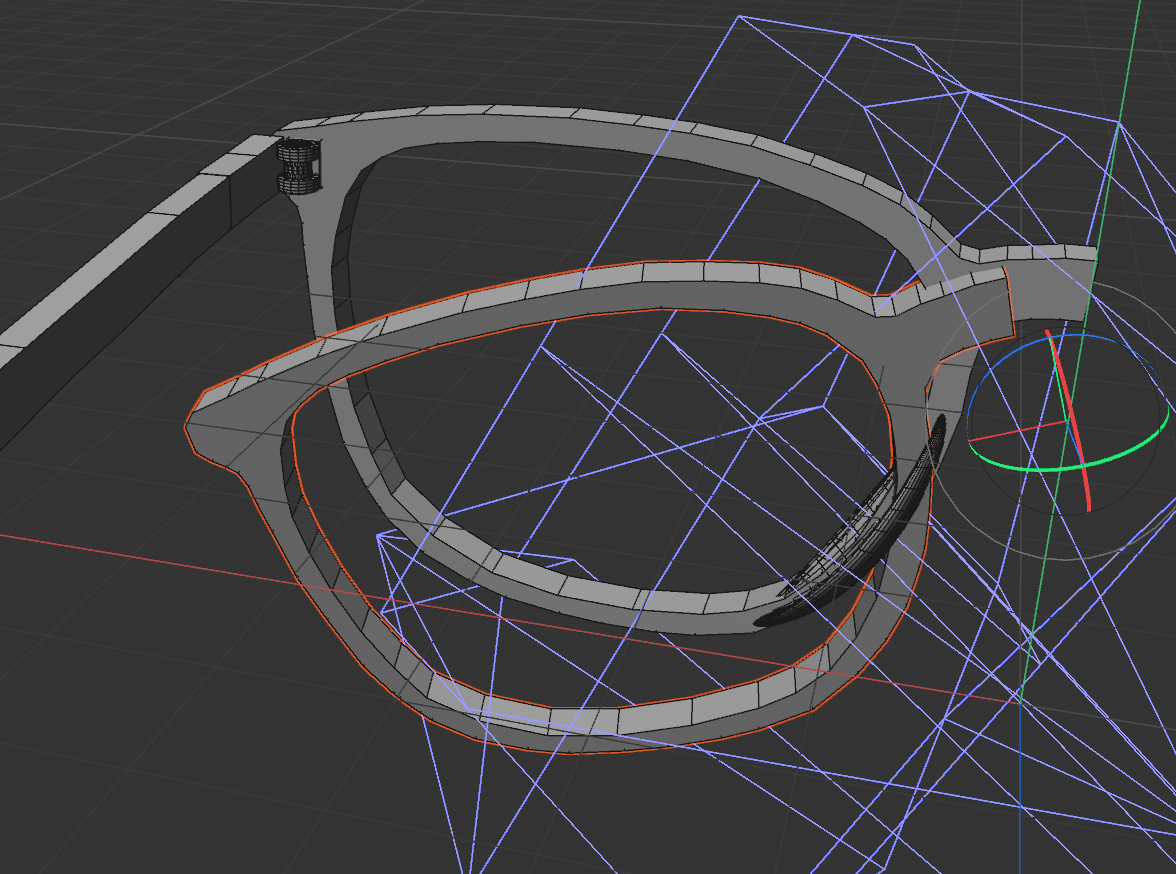
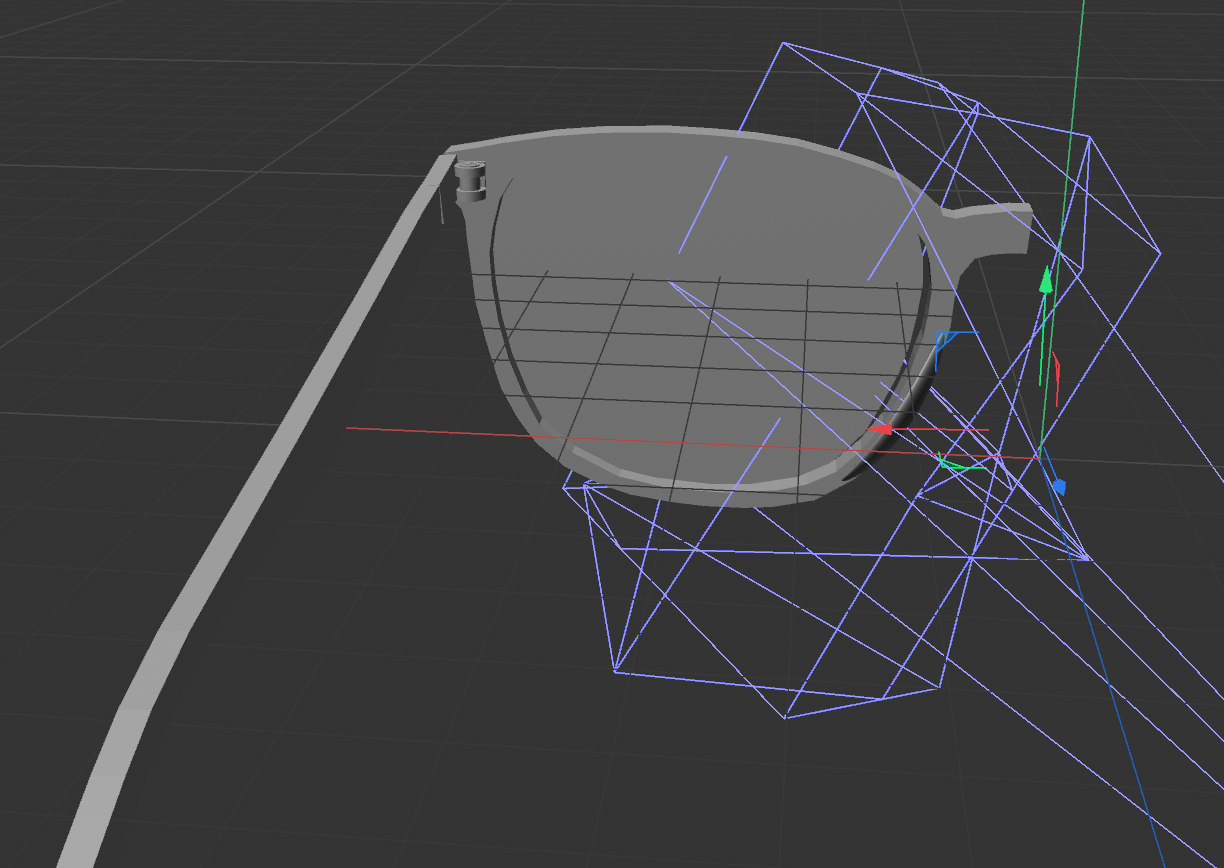
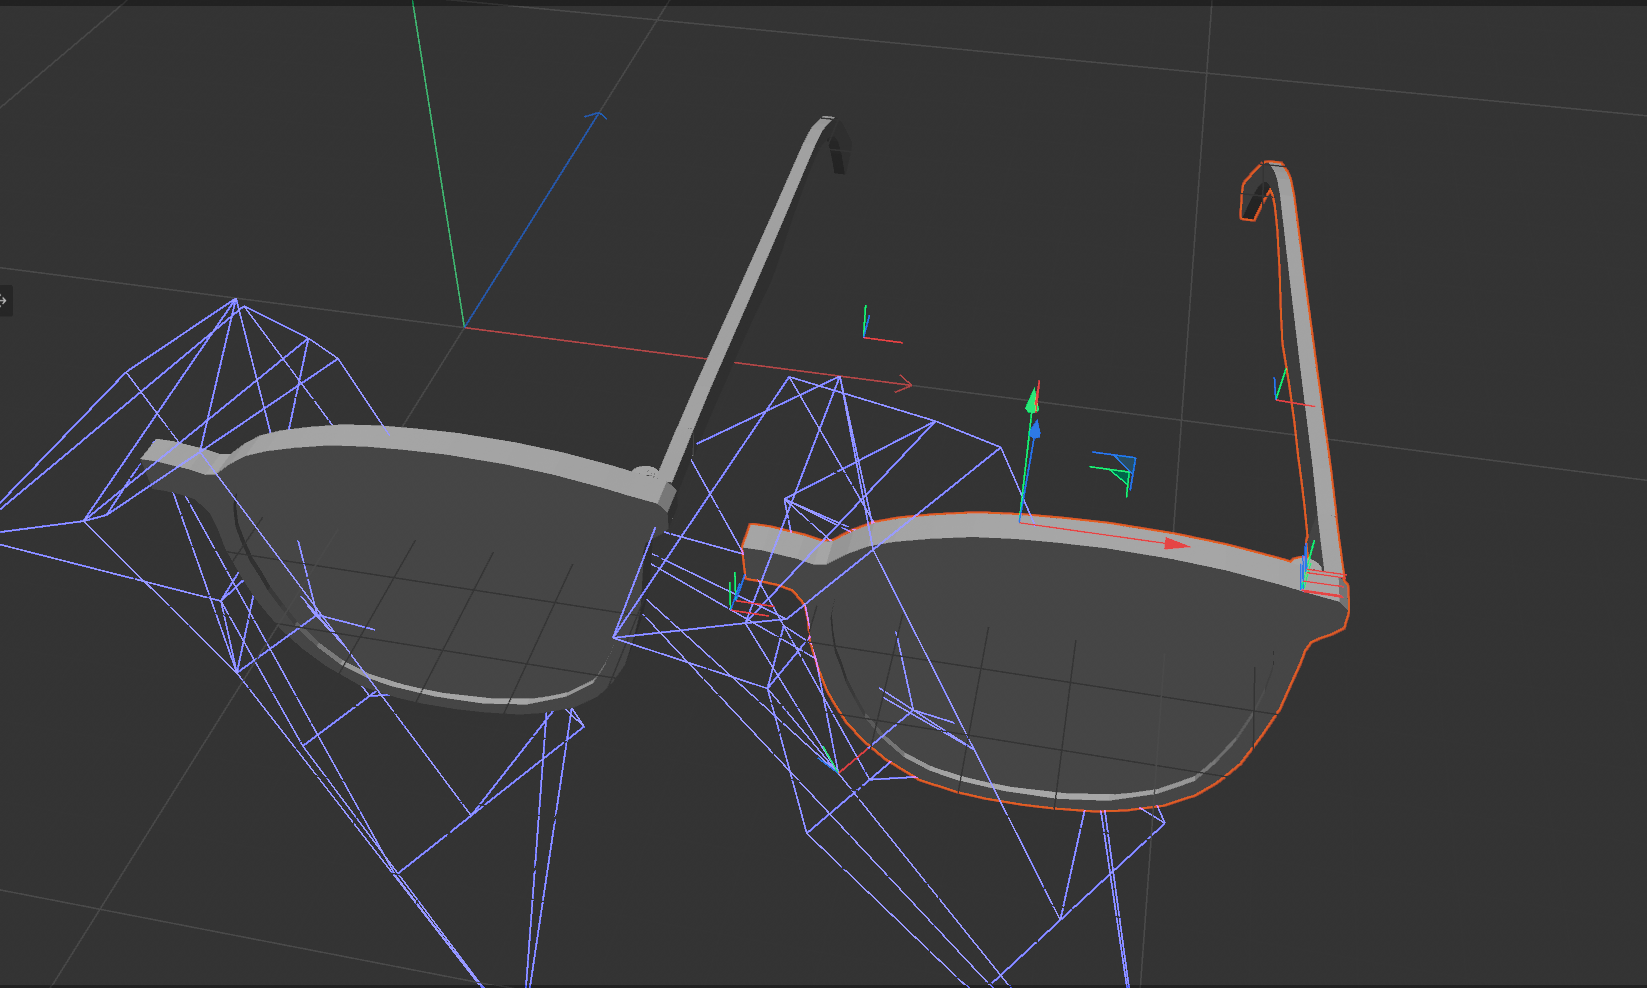
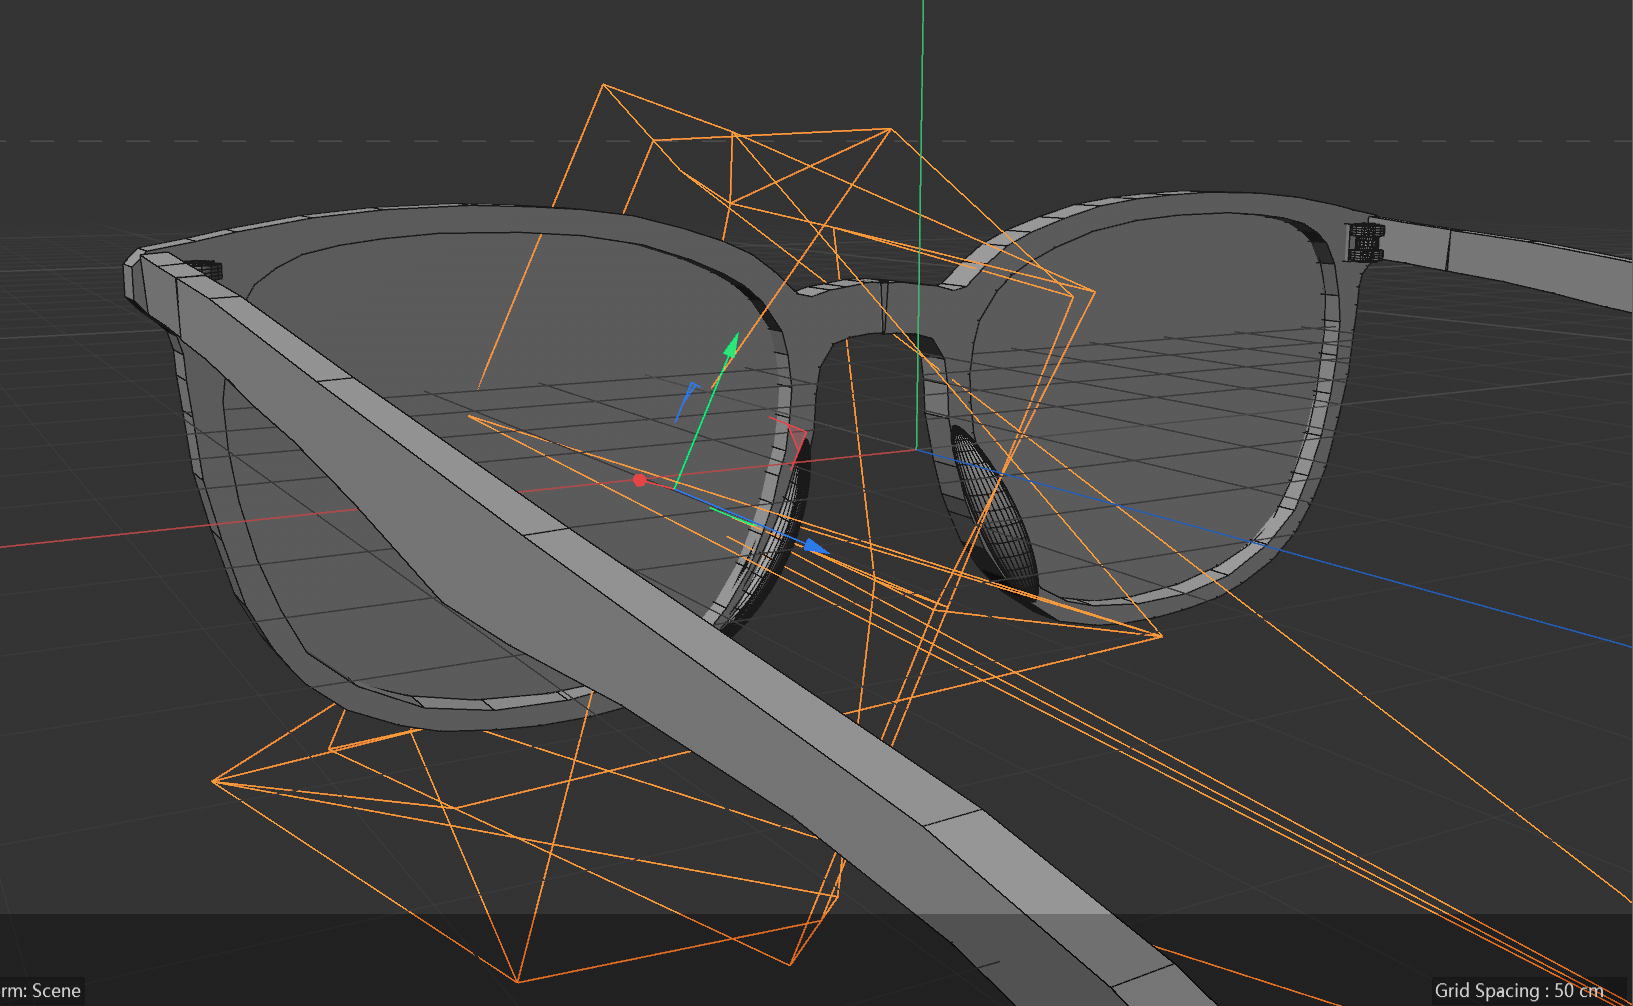
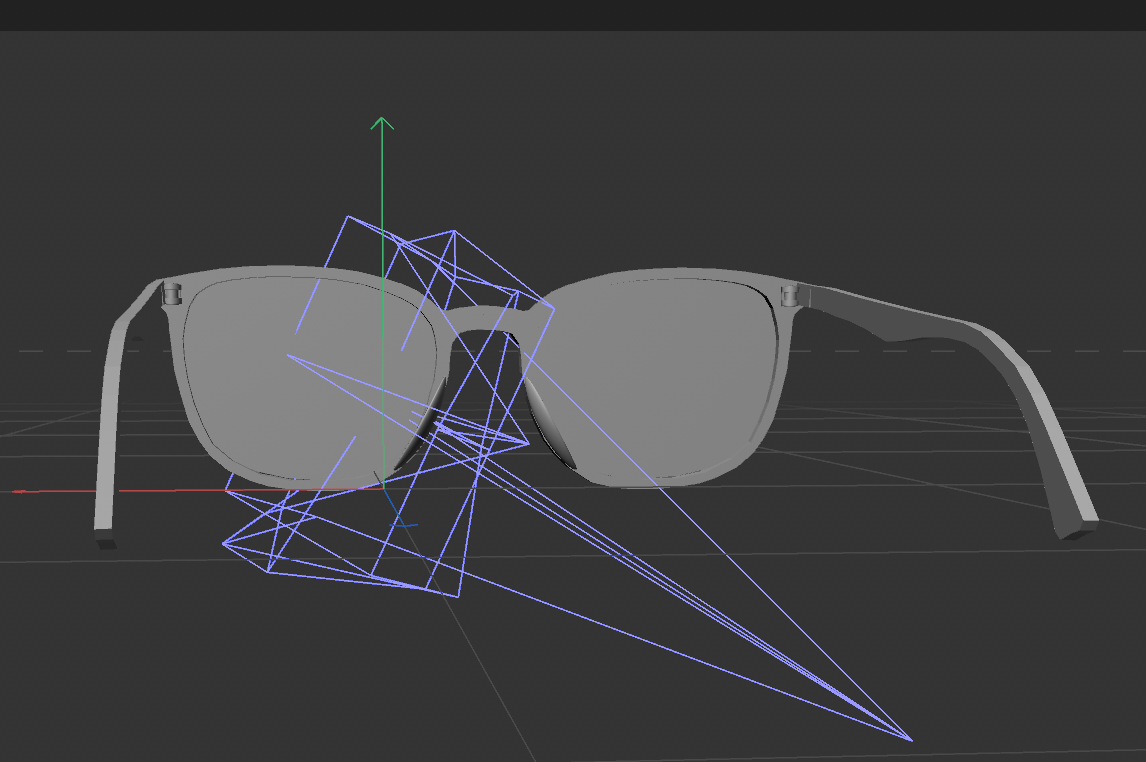
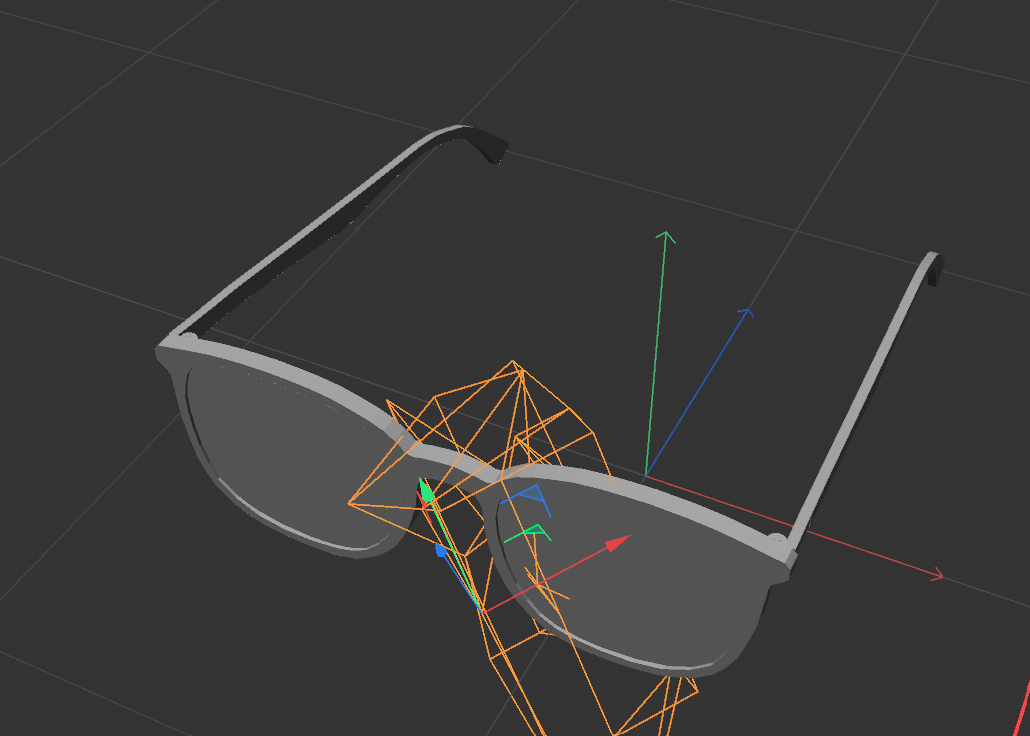
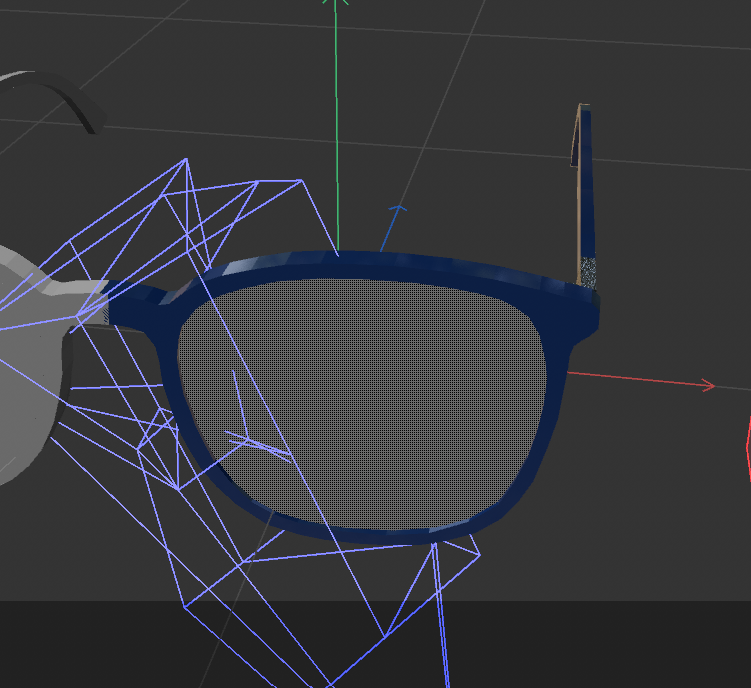
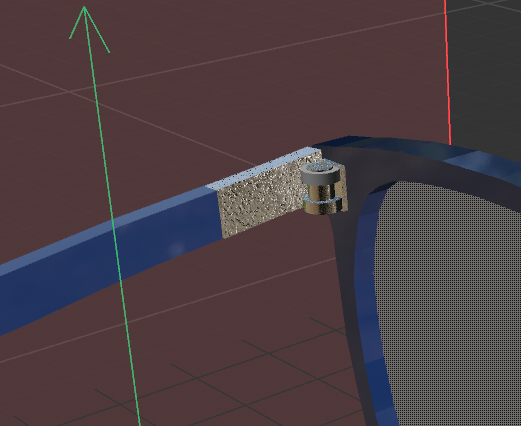
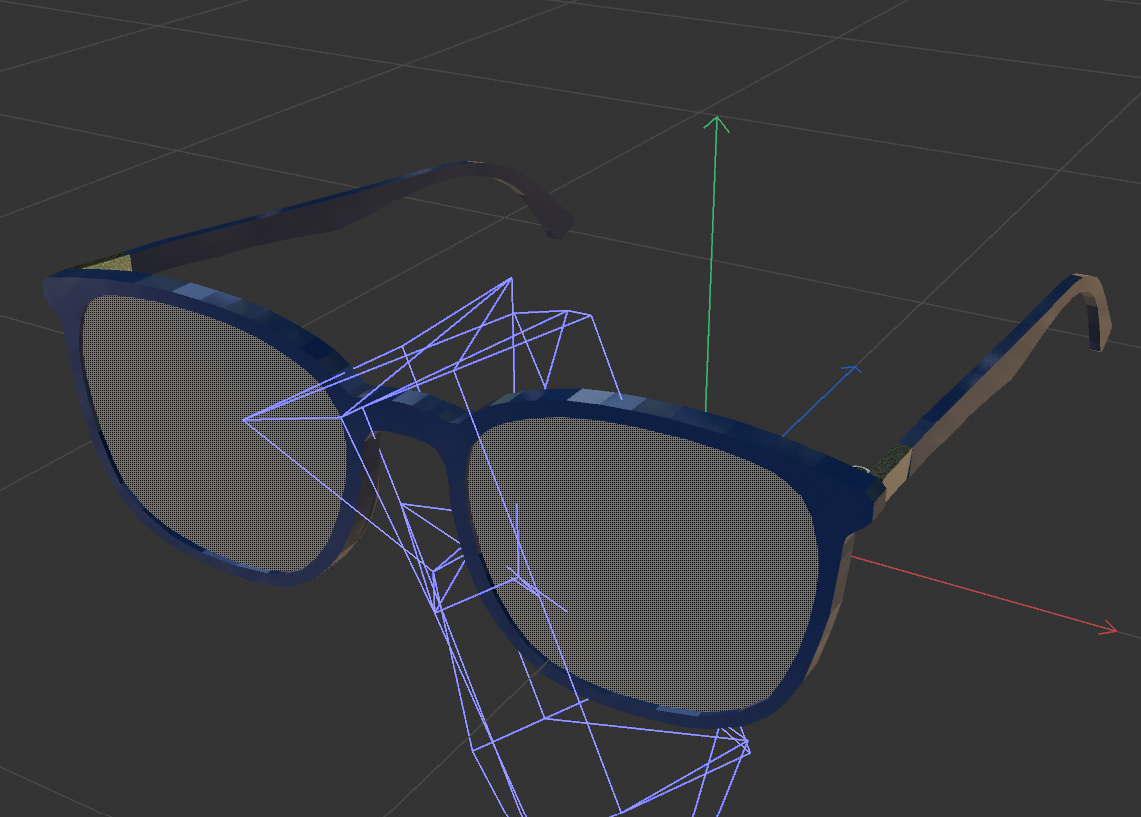
When I first started, I initially envisioned the object as a collection of geometric shapes—much like in Challenge 1—but I realized that approach actually made the process unnecessarily complicated. So, after doing some online research, I imported an image and used a line-tracing tool to outline the eyeglass frame, creating a 2D profile of one side of the glasses. Next, I used the This shows the model after adjusting the thickness. Here, I began constructing the hinge mechanism where the temple arm connects to the frame. I visualized this as a combination of geometric shapes, assembling them into the form of a locking hinge. I inserted a small cylinder in the center to simulate a screw and connect the parts. This is how it looked after adjustments. Here, I used the line-drawing and extrude methods to create the temple arm (I’ve omitted the process images here since they are similar to the earlier steps) and am currently fitting and adjusting the pieces. I modeled the nose bridge to match the shape of the glasses. I continuously tweaked the form to get the general shape right. I positioned the nose bridge onto the main frame to make further adjustments. Due to an oversight, I only realized at this stage that I had two separate layers for the glasses and hadn't aligned them correctly. I deleted the extra layer and readjusted the model. The model after adjustments. The view with structural lines removed. Adding the lenses (again, created using the outline and extrude method). The basic single-side frame is complete. Duplicating the object. Mirroring it and adjusting the position (it took me a long time to find the mirror function). Rear view after adjustments. Side view after adjustments. Selecting materials and colors to simulate the real object; I set the lenses to a glass material. Based on the real object, I chose iron as the material for the hinge/bend area. The final rendered image.

Material Workshop 1
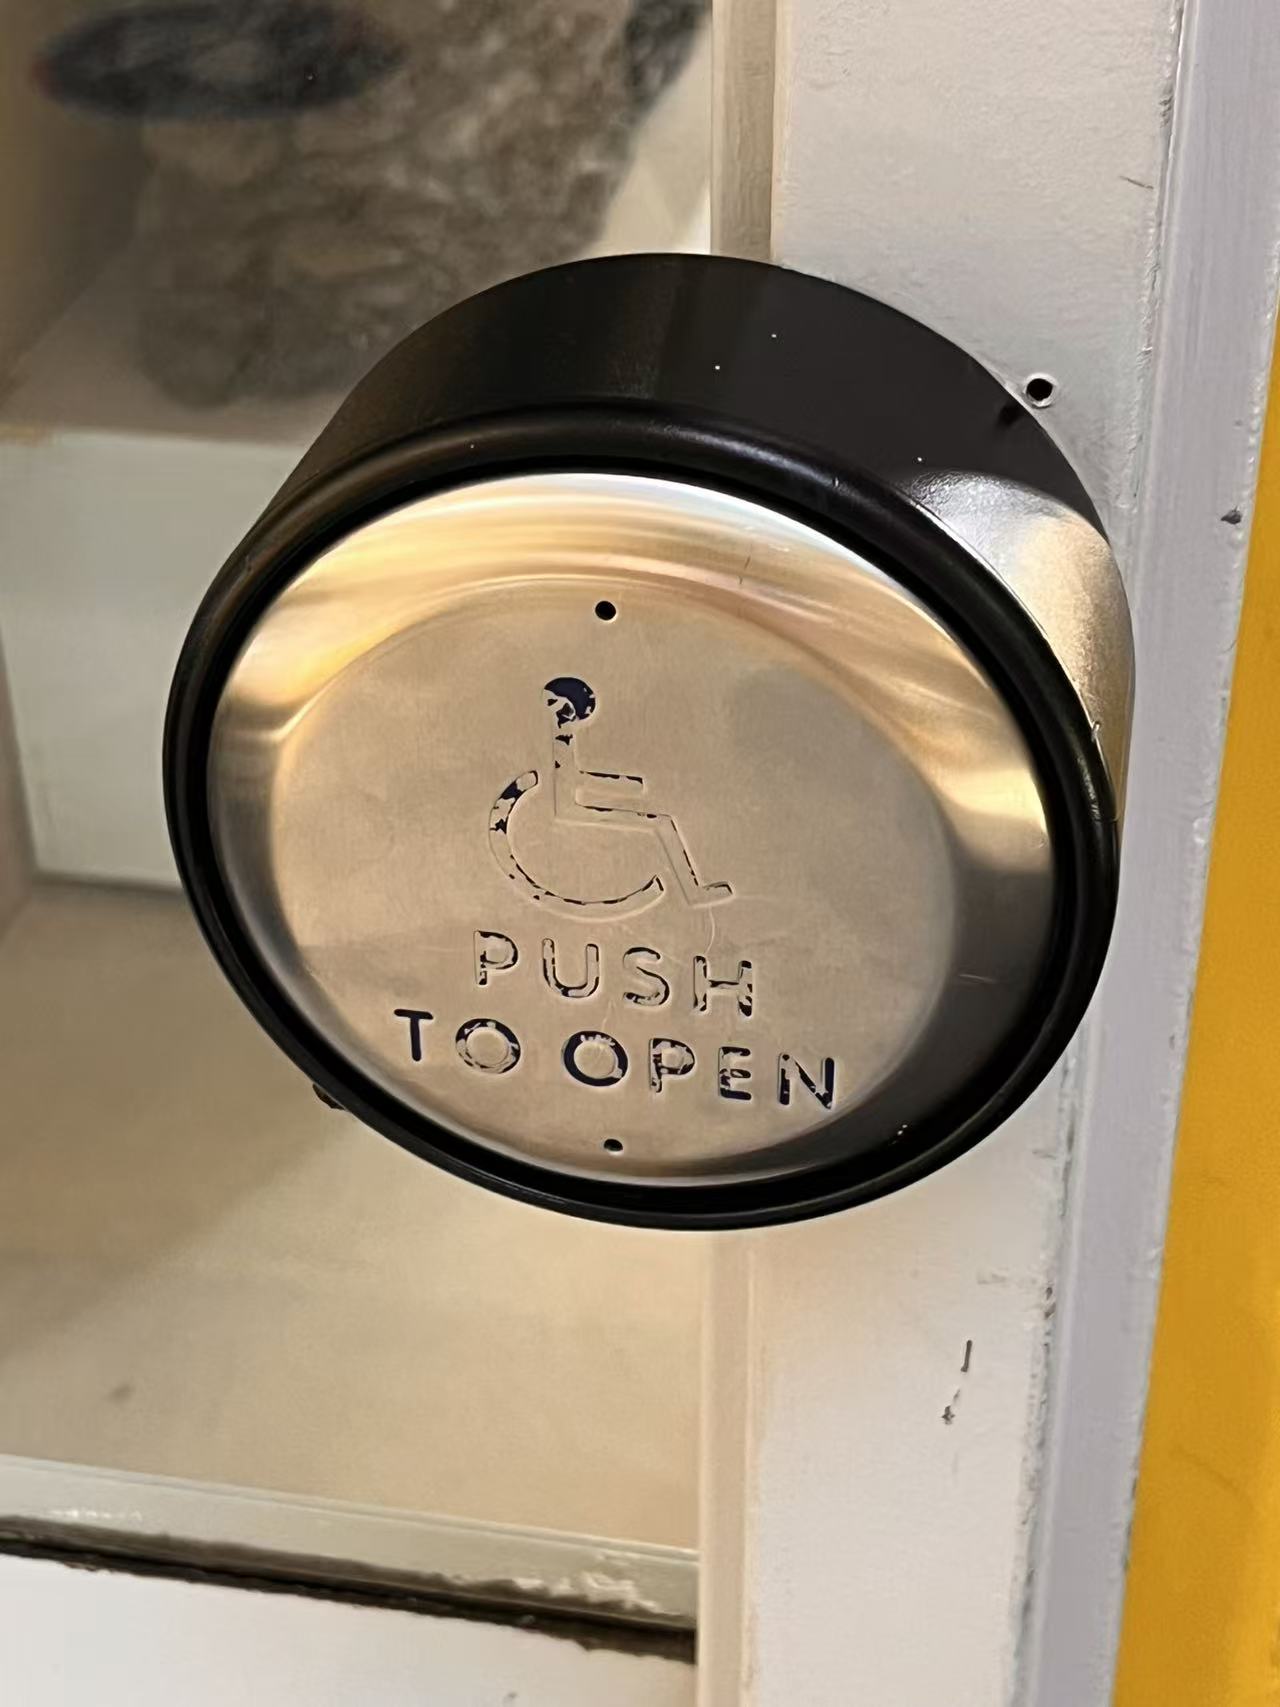
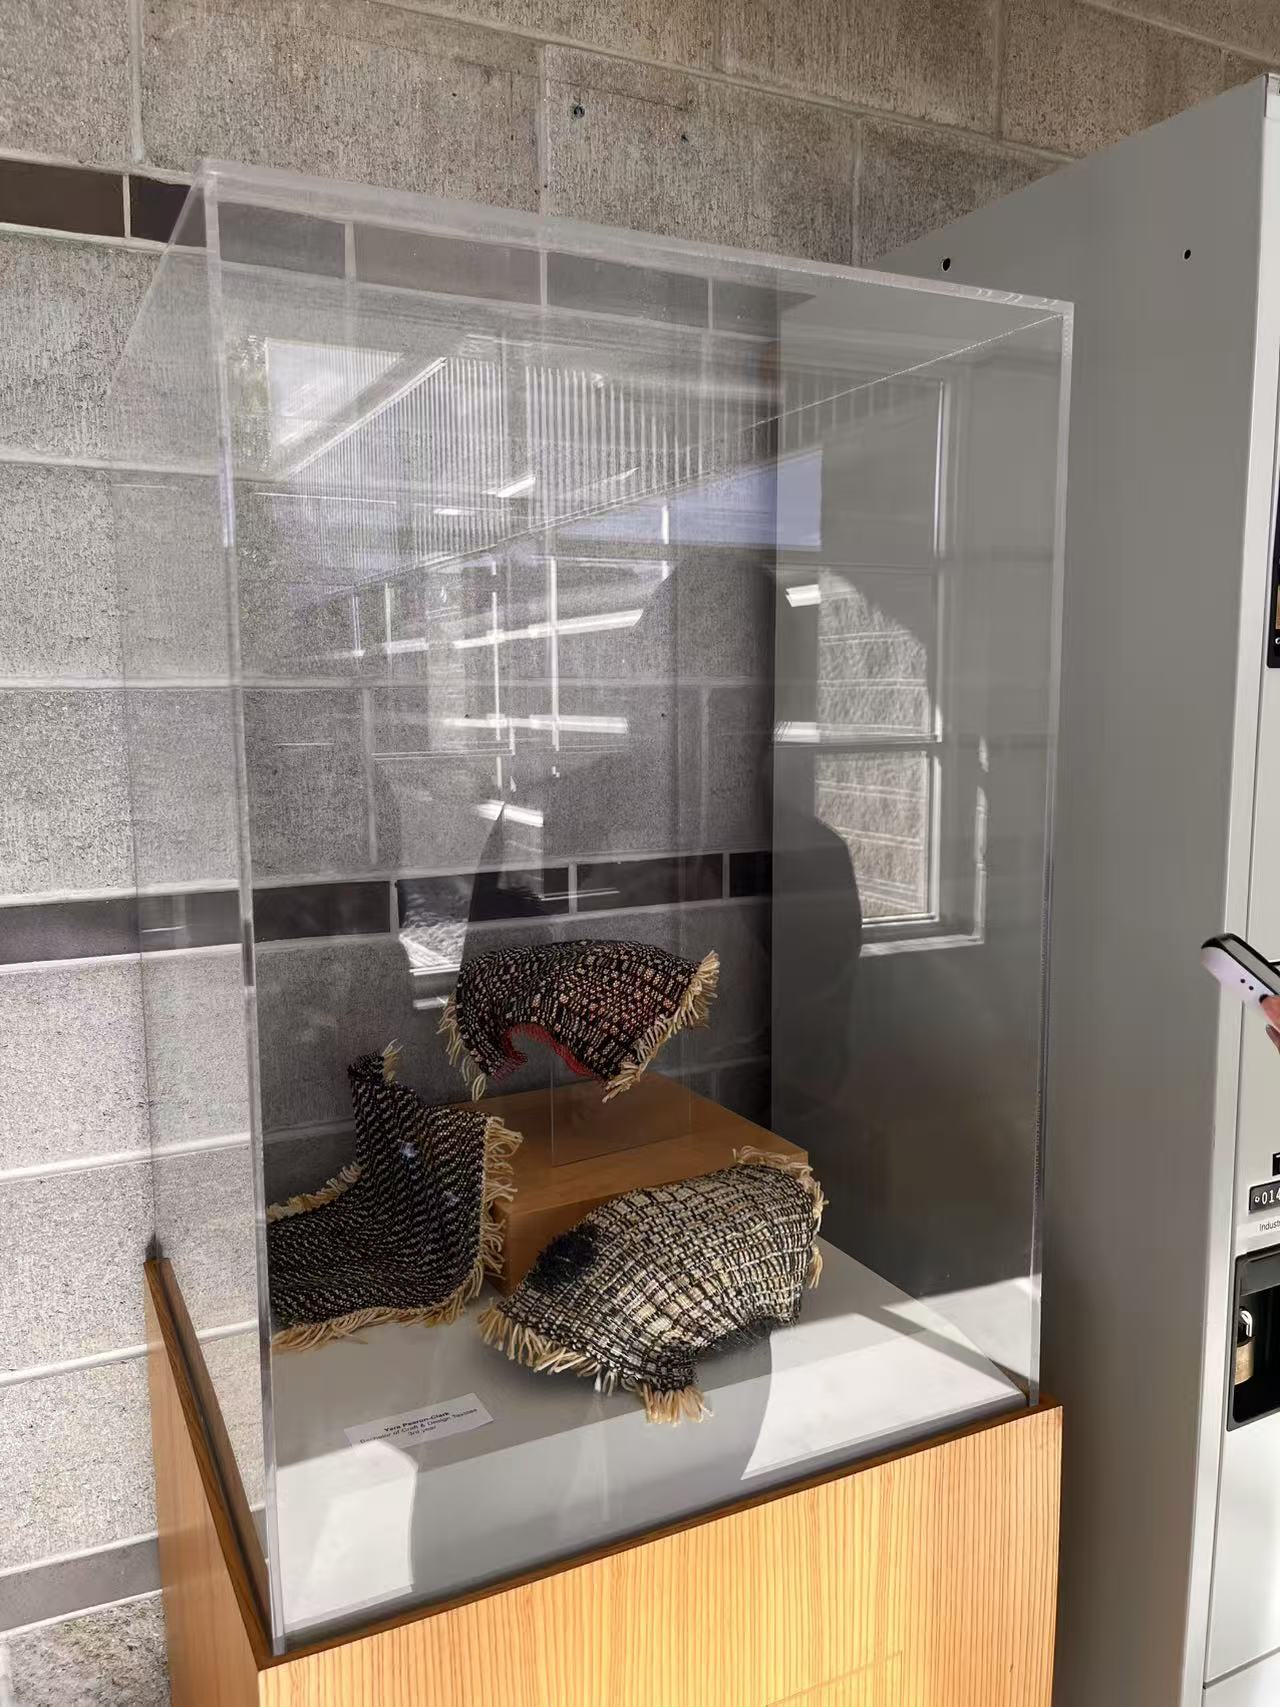
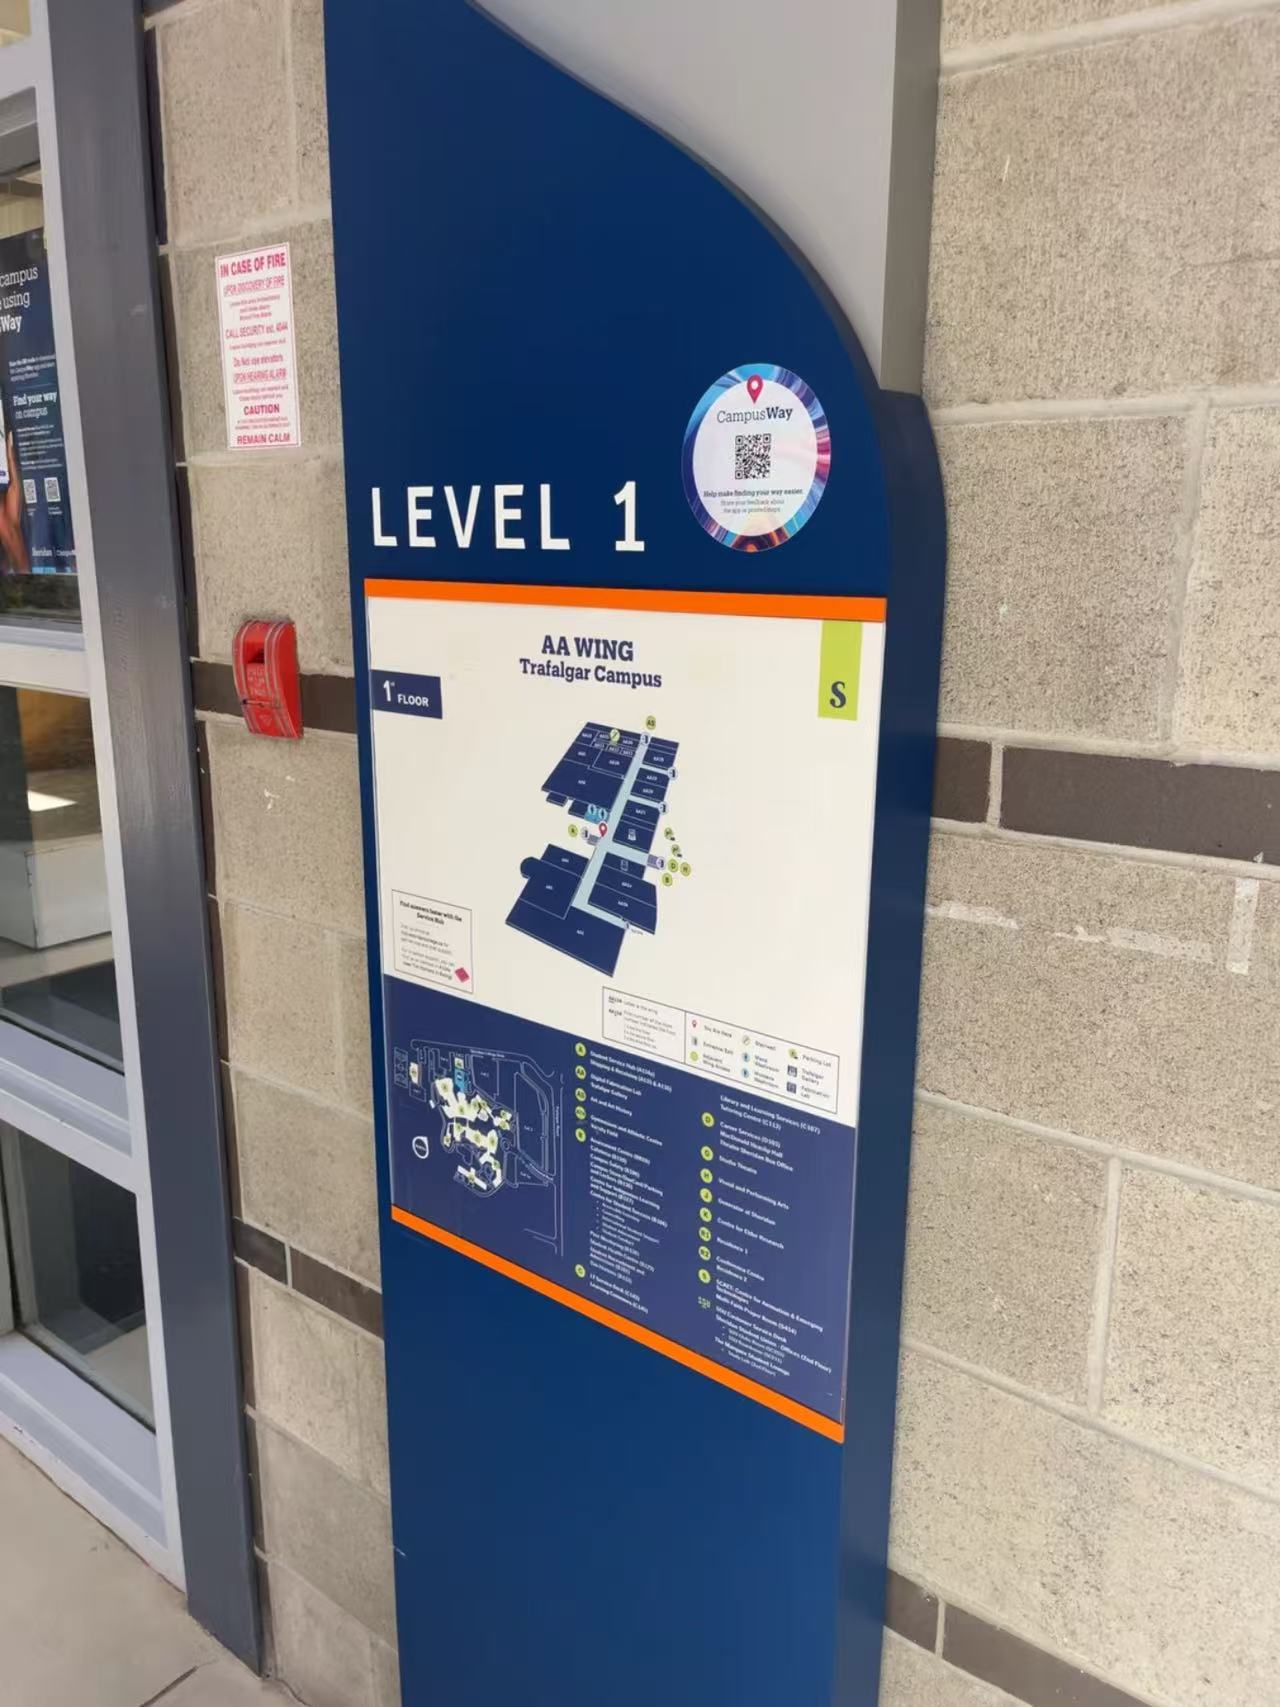
Accessible Door Button: The faceplate is constructed from 304 stainless steel, while the outer ring is made of ABS plastic. Stainless steel was selected for its wear and scratch resistance—qualities that are crucial for buttons installed in public spaces subject to frequent, repeated use. This material is rust-resistant, withstands local temperature fluctuations, is easy to clean, and is durable enough to resist damage. The primary function of the plastic housing is to secure the unit to the wall and provide electrical insulation for the internal circuitry.<a href='https://www.youtube.com/embed/tgbNymZ7vqY' target='_blank'><p>Project Video Link</p></a> Exhibit Display Case: The transparent display cover is made of acrylic. The reasons for using this material include its lighter weight compared to glass, superior impact resistance, and ease of cutting for the construction of large display cases. <div class='container'><iframe class='responsive-iframe' src='https://www.youtube.com/embed/tgbNymZ7vqY'></iframe></div> Campus Wayfinding Signage: Made from bent aluminum panels, aluminum composite panels, or PVC foam boards. Reasons for using these materials: Aluminum panels offer high malleability, allowing them to be shaped into smooth curves while remaining resistant to rust and fading. Aluminum composite panels and PVC foam boards are exceptionally flat and lightweight; they feature a matte finish that is scratch-resistant, waterproof, and anti-reflective, making them easy for students to read and durable enough to withstand frequent outdoor exposure without damage.

Material Workshop 2

put a description here or you will lose grades <a href='https://www.youtube.com/embed/tgbNymZ7vqY' target='_blank'><p>Project Video Link</p></a> put a description here or you will lose grades <div class='container'><iframe class='responsive-iframe' src='https://www.youtube.com/embed/tgbNymZ7vqY'></iframe></div> put a description here or you will lose grades

Project 1


Project 1 Models

Published 3D Model 1

PLACEHOLDER TEXT, put a description here or you will lose grades
put a description here or you will lose grades <div class='container'><iframe class='responsive-iframe' src='https://hudak.phoenix.sheridanc.on.ca/P1Stuff/Index.html'></iframe></div>

Published 3D Model 2

PLACEHOLDER TEXT, put a description here or you will lose grades

put a description here or you will lose grades <div class='container'><iframe class='responsive-iframe' src='https://hudak.phoenix.sheridanc.on.ca/P1Stuff/Index.html'></iframe></div>

Published 3D Model 3

PLACEHOLDER TEXT, put a description here or you will lose grades

put a description here or you will lose grades <div class='container'><iframe class='responsive-iframe' src='https://hudak.phoenix.sheridanc.on.ca/P1Stuff/Index.html'></iframe></div>
×

Powered by w3.css